If you’ve ever grown dill, you’ll know that it can take over your garden like a weed! And that’s because it is one…dill weed. 🙂
You can get a ton of dill from the garden, but then it can be hard to figure out what to do with it. Sure, dill can be used fresh, be part of pickling spice, or dried to be used later.
Drying dill is an awesome way to keep your garden producing for you well after the season is over.
How to Dry Dill
There are 5 ways to dry dill and keep using it for months after the harvest is over. You can dry your dill using a dehydrator, air fryer, oven, microwave, or simply hang it in a dry place.
Once washed, dill is a pretty straightforward herb to dry, so let’s get into how to clean it properly before we dry it.
How to Prepare and Clean Your Dill
Before you start the drying process, you’re going to want to clean your dill sprigs.
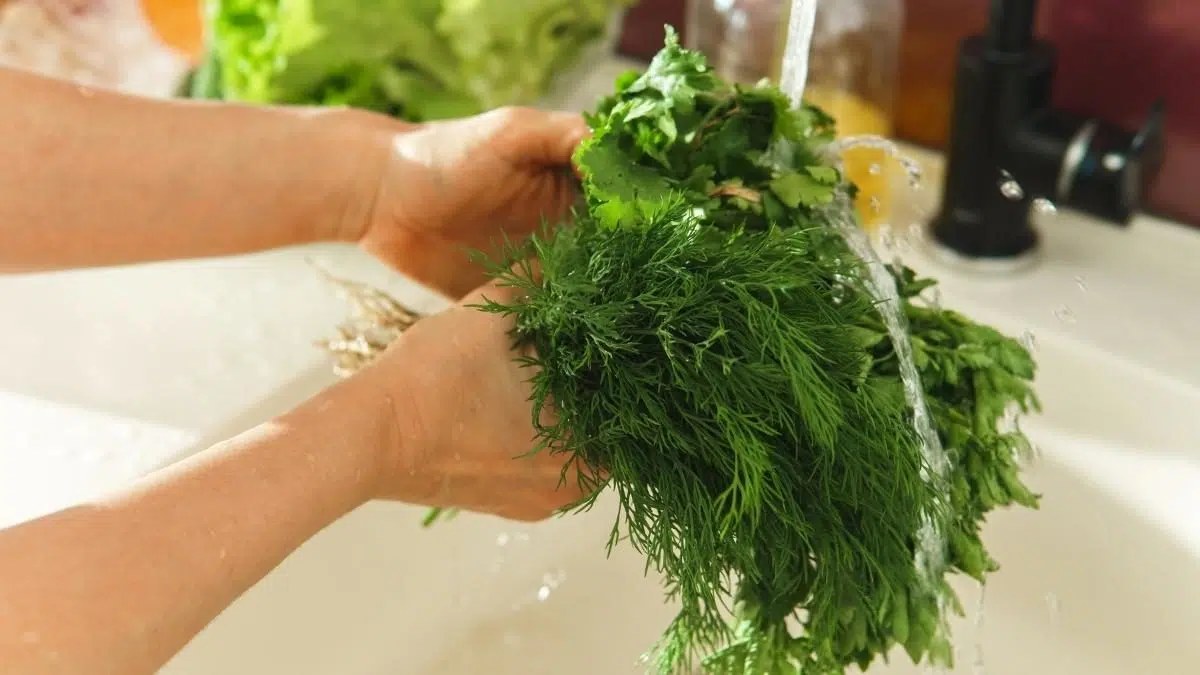
Cleaning your dill will help you remove any excess dirt, pollen (thanks, trees!), and any pests that might be hanging out on your dill sprigs.
I would recommend that you keep the dill sprigs intact as opposed to cutting the leaves off the stems as this will make drying and processing the dill later on much easier.
5 Ways to Dry Your Dill
After your dill has been washed and is ready for the drying process, there are some great options you can use to actually dry it out and preserve fresh dill.
1. Drying Dill in a Dehydrator
A dehydrator can come in handy with all kinds of kitchen chores. And drying herbs is absolutely one of those things it can help with.
Compared to drying your dill by hanging it up, this method is MUCH faster.
- How Long it Takes: 4-6 hours
- How Well it Holds Flavor: 4 out of 5
- What You Need: Food Dehydrator
How to Dry Dill With a Dehydrator
Herbs typically need to be dehydrated at a temperature of 95 degrees Fahrenheit, so you want to make sure that you’re using a dehydrator that allows the temperature to be that low.
Low and slow wins the race! Err something like that? 🙂
1. Wash Your Dill
Wash your dill off and pat off any excess moisture that remains. You can also use a salad spinner to dry off your dill.
2. Place Dill on Your Dehydrator Racks
When putting your dill on the racks, try and keep the dill separated so you don’t end up with clumps of wet dill at the end.
Make sure they are evenly spaced and not touching so there is enough air circulation to dry everything.
3. Set the Dehydrator to 95F for 4 Hours
Dill dries best on a temperature setting of around 95 degrees Fahrenheit. While the whole process will take around 4 hours, make sure to set a timer on your phone or oven for 2 hours.
This is when you’ll want to start checking on your dill to see if it’s done. It can take up to six hours for fresh dill to dry depending on the room temperature, humidity, etc.
4. Take Them Out When They’re Ready
About 4-6 hours from when you started your dehydrated dill should be ready to go! Make sure to check all of your dill to see if there are any moist parts. If so, throw them back in.
If not, it’s time to process them and put them in an airtight container, like a mason jar or plastic bag. More on storing your dill can be found below.
2. Hanging Dill Out to Air Dry
Letting the air dry out your dill weed is a great option – it’s also the most cost-efficient and produces the best tasting dill — however it does take some time.
- How long it takes:
- 1-2 weeks
- What you’ll need:
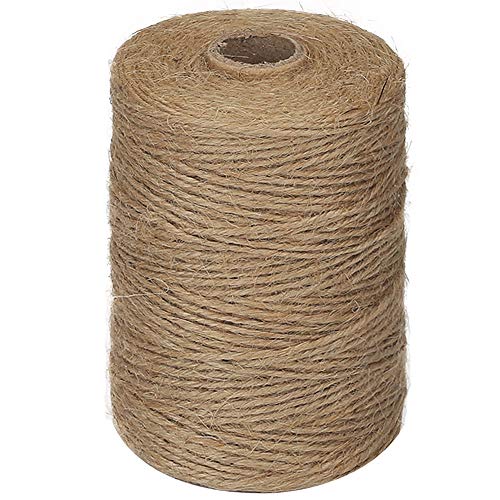
- Twine aka jute
- Some patience
- A place to hang your dill for a few weeks
- Pros:
- Cheap
- Great tasting dill
- Cons:
- It takes the longest
- It takes up space
How to Air Dry Fresh Dill (Can Be Inside or Outside)
Air drying is a great way to dry out your fresh herbs if you have the patience. 🙂
- How Long it Takes: 1-2 weeks
- How Well it Holds Flavor: 4 out of 5
- What You Need: Jute or twine
1. Wash Your Dill Sprigs
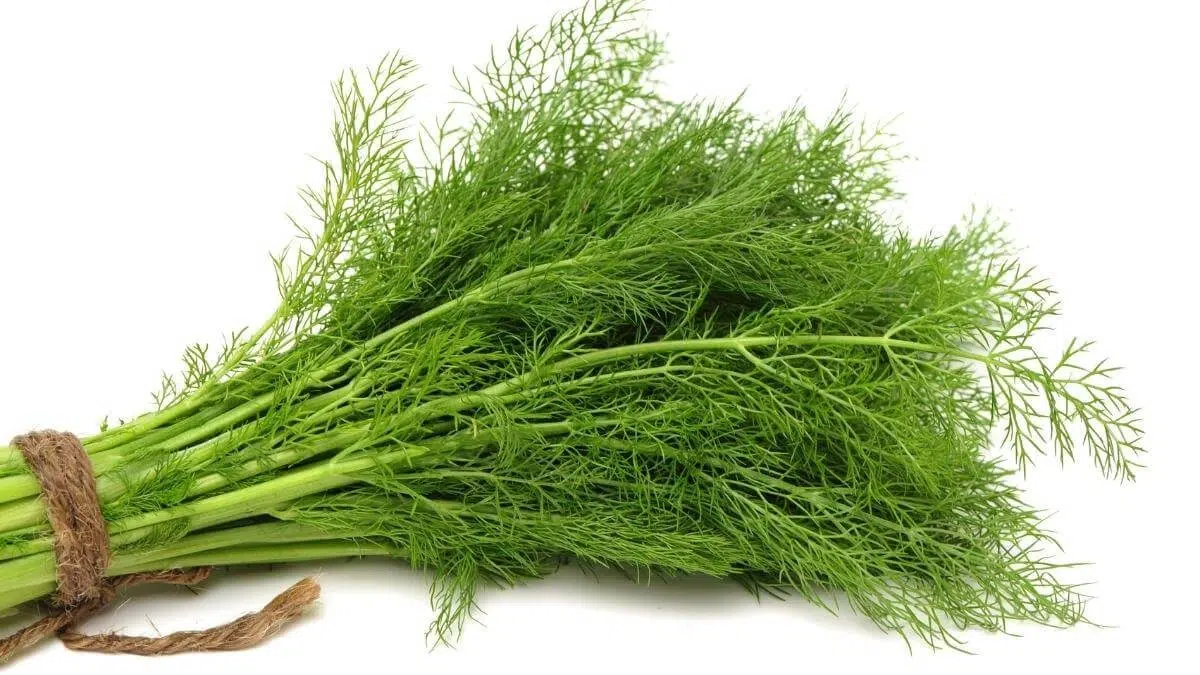
2. Tie Your Dill Sprigs Together
Get about 10 or so in one bunch and tie them with jute or gardener’s twine.
3. Hang Your Dill
Hang your dill upside down in a place that has good airflow and can stay in the same place for 1-2 weeks.
This can be a place inside or outside, although being outside in the sun generally speeds up the drying process by about a week.
If the spot you’ve picked gets dusty, you can put your dill bunches in paper bags and just make a few cuts for airflow.
4. Give it About 1-2 Weeks
It takes time for dill to dry this way, but it is a method that’s been used for years, so it definitely works!
3. Drying Dill in the Microwave
- How Long it Takes: 60-120 seconds
- How Well it Holds Flavor: 2 out of 5
- What You Need: Microwave
1. Place paper towels on a microwave-safe dish
2. Lay dill sprigs on the paper towel, without overlapping too much
3. Microwave for 1 minute
Then check on your dill and see if it’s dry yet. If not, put them back in.
4. Put them back in for 15-30 seconds at a time
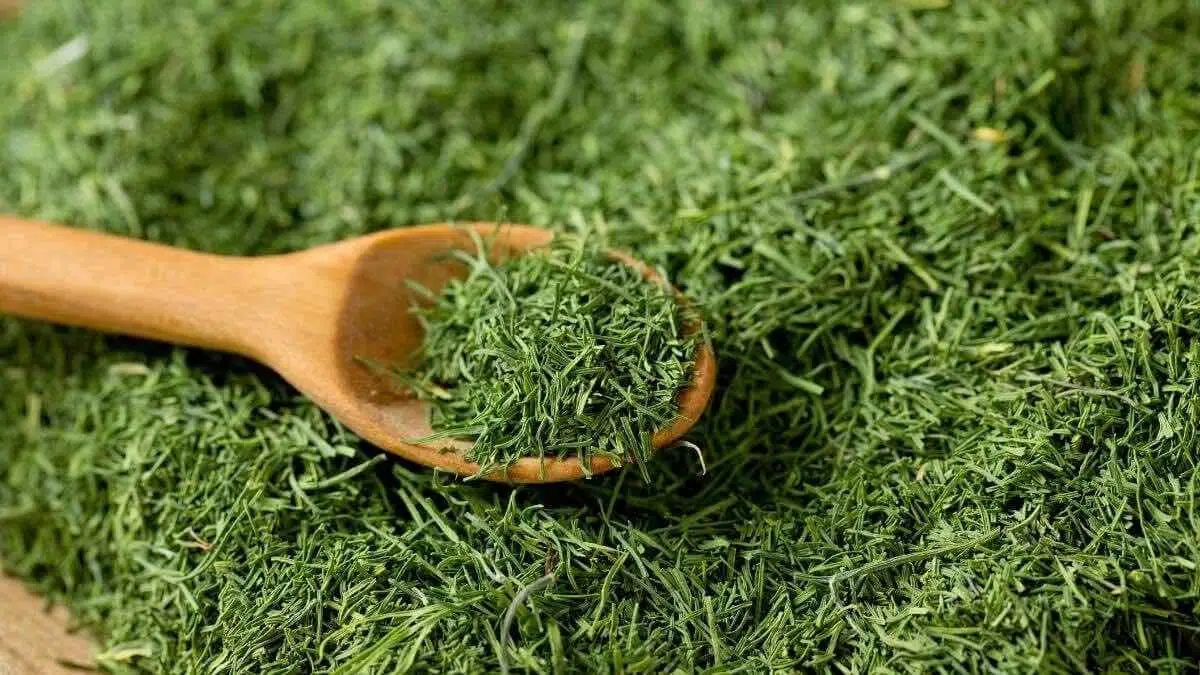
Continue this process until your dill is completely dry and crunch when you touch them.
Keep in mind that if you leave them in too long you will COOK them and we don’t want that so keep a close eye on them.
5. Remove the stems
You can leave the dill stems intact, but I like to remove them to save space in the jar because they can have thick stems!
6. Put dried dill in your container of choice
This can be a mason jar, spice jar, Ziploc bag, etc.
What you need:
- Fresh dill sprigs
- A good-sized bowl or clean sink
- Mason jar or spice jar with a tight-sealing lid
4. Drying Dill in the Oven
Ovens are kind of tricky because you want to get the temperature down low enough to NOT cook the leaves and just dry them.
1. Preheat the oven to its lowest temperature (usually ~ 170 degrees Fahrenheit).
If you can go lower, do it! You’ll save a lot more of the flavor by cooking lower and slower.
2. Add parchment paper to a baking sheet
3. Put Dill on the baking sheet
Try not to layer up the dill sprigs too much. You’ll end up with unevenly drying herbs and this process will take long and be more complicated.
4. Check on your dill after 30 minutes
It’s very unlikely the dill will be dry by then, but it does happen! So make sure to check on it regularly.
Check every 15 minutes after that to see if they are dry – it will happen quickly.
5. Drying Dill in the Air Fryer
Using the air fryer to dry dill is another option you can use.
1. Clean Your Dill Sprigs
Rinse your dill sprigs and pat dry to remove any excess water.
2. Place Dill in the Air Fryer (and Weigh It Down!)
Spread the dill out evenly in the frying basket so it dries more evenly.
Make sure you are weighing down your herbs in the frying basket. An air fryer blows a ton of air around, and if you don’t weigh it down the herbs will just go flying everywhere. You can use the trivet or an air fryer basket you might have.
3. Set Your Air Fryer
Herbs don’t need much heat to dry out properly. I set my air fryer to around 140 degrees Fahrenheit for 7 minutes. You might need more or less time depending on the humidity in your area. You can set it at a high heat, but you don’t want to cook the leaves either.
Frequently Asked Questions
What is the Best Way to Dry Dill?
There are a number of ways you can dry dill, and there really isn’t a “best way”. Microwaving your dill would be my last choice as it does degrade the flavor quite a bit. But, if you need dry dill in a pinch (see what I did there?), it does work.
How Long Does it Take to Dry Dill?
Depending on the method you use, it can take anywhere from a few minutes, to a few weeks to dry your dill fully. Microwaving is definitely the shortest method, while air drying is the slowest.
How Long Does Dried Dill Last?
Dried dill weed can last for up to 3 months if stored properly.
What to Do With Dried Dill
So you’ve dried your dill, now what do you do with it?
I like to use a mortar and pestle to grind it up so it fits better into an airtight container. You can store dried dill for around 7-10 months. And since the drying process doesn’t really take that long, this seems like a win-win to me!
Dill is also a great pickling spice. You can make pickles with cucumbers and garlic. I’ll post my recipe here soon!