Basil tastes great and is also a great companion plant in the garden, but you don’t need to grow the full plant to get these benefits.
I love growing basil microgreens. They taste so stinking good and have that intense basil flavor you want, but they take up almost no space, and they grow so much faster!
Plus, you don’t have to worry about the typical basil problems or pests you can encounter with a full plant, or worrying about checking for basil flowers.
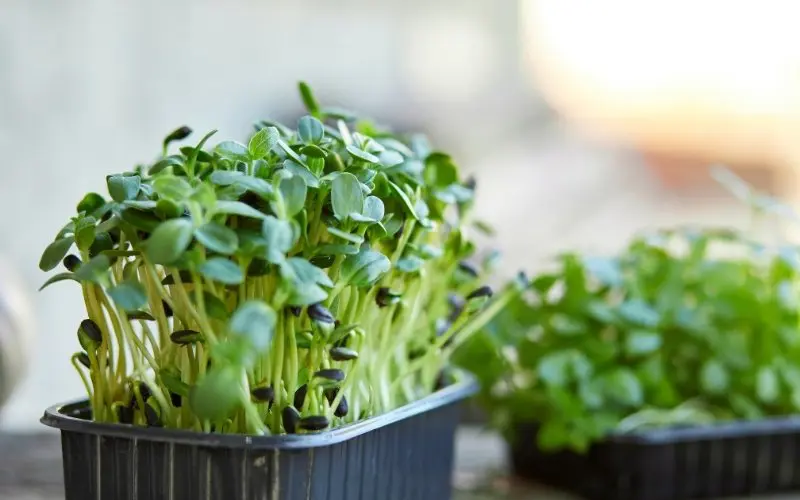
Because you get the same benefits as eating the normal-sized herb, basil microgreens have become a staple for those looking to improve their health and the flavor of their dishes.
The best part? You don’t need much space or time to get your herb garden started with some basil microgreens.
If this sounds like something up your alley or if you’re feeling adventurous, I highly recommend giving them a shot.
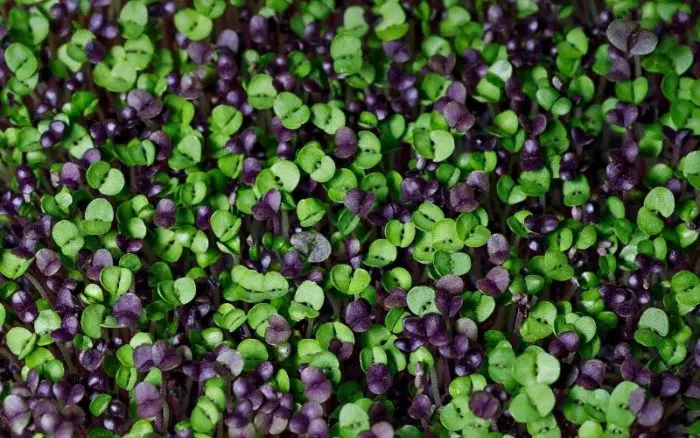
Micro Basil Snapshot
- Germination Time: 2-3 days
- Days to Harvest: 12-15 days
- Flavor: Like basil, but a little sweeter than mature basil
- Do you need to soak the seeds? No
| Product | Quantity | Link |
|---|---|---|
| Basil Seeds | 5-10 grams | View Product |
| Heat Mat | 1 | View Product |
| Microgreen Tray (with holes) | 1 | View Product |
| Microgreen Tray (without holes) | 1 | View Product |
| Harvesting Knife | 1 | View Product |
| Growing Medium | 1 | View Product |
| Grow Lights | 1 | View Product |
How to Grow Basil Microgreens
Basil microgreens are one of the easiest microgreens to grow. So how do you do it?
Here’s what you’ll need to grow basil microgreens:
- Basil seeds
- 2 microgreen trays (a top tray with drainage holes and bottom without holes)
- Some soil mix
- A light source (I use these grow lights)
- Heat mats
- Water
- A few days’ time
- Fan for air movement
The steps for growing basil microgreens are pretty straightforward.
1. Choose Your Seeds
Of course, you need basil seeds to grow basil microgreens, but you don’t need to buy anything special. Microgreens are just baby versions of the larger plant, so you don’t have to find specific microgreens seeds. Any quality basil seeds will work for this.
There are a ton of basil varieties to decide between but in my opinion, some of the best types of basil for microgreens are:
- Genovese Basil microgreens
- Dark Opal / Purple Basil
- Italian Basil
- Cinnamon
- Holy Basil
I like getting my seeds from True Leaf Market, or another seed store that sells high-quality organic seeds.
2. Prepare your trays
You can use almost any kind of tray to grow microgreens, but I love these ones. They last more than a few uses and are the perfect size for growing a tray of microgreens.
For microgreens, you’ll want to get a top tray that has holes it in for drainage, and a bottom tray that has no holes in it. That bottom tray will allow you to keep your workspace free from water leaking everywhere and will allow you to bottom water if you decide to go that route.
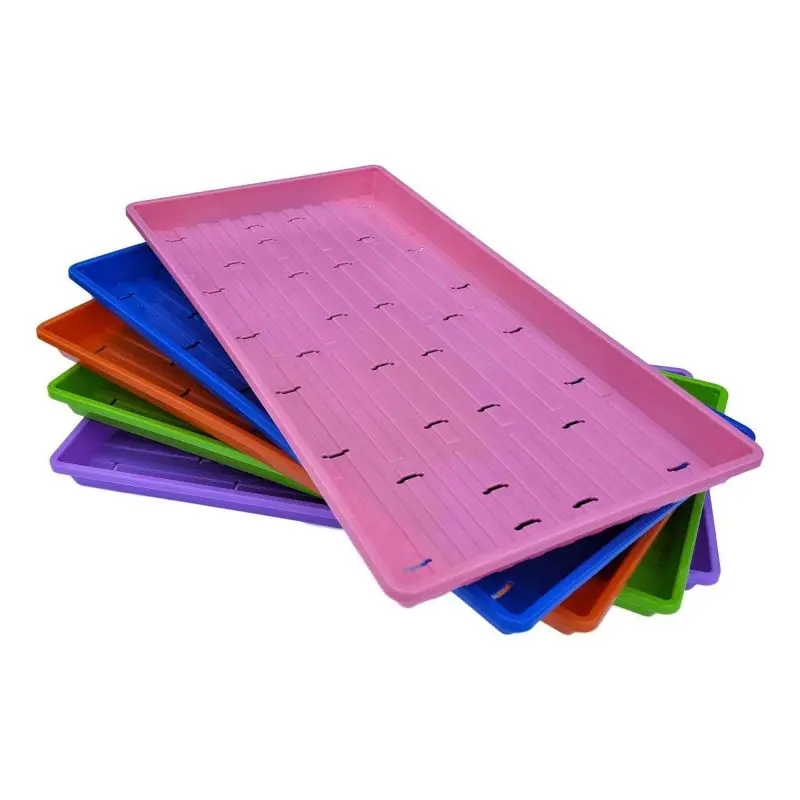
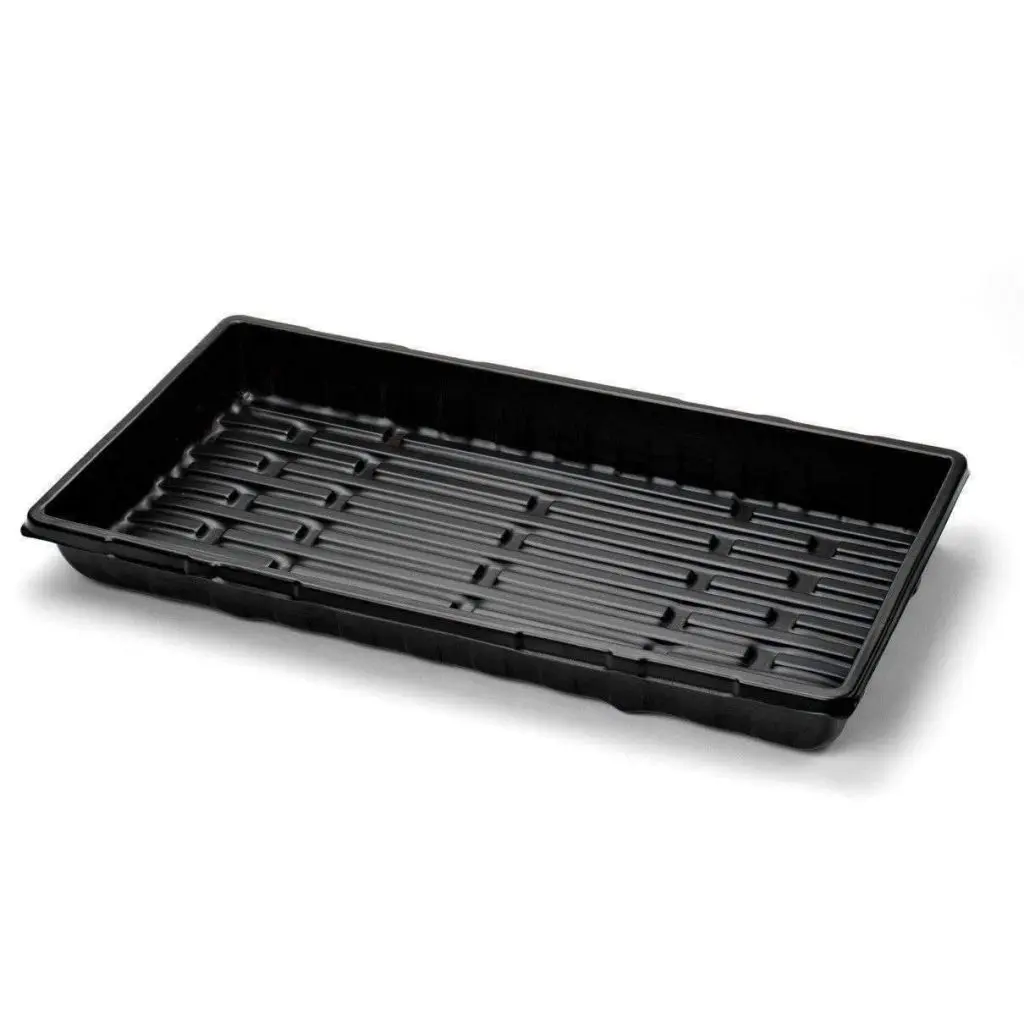
Once you have your microgreen tray, you’ll want to fill them up with some potting soil or good quality seed starting mix. This will be something that is light and allows the roots to easily move around. You can also use something like coconut coir or another growing medium in the growing tray.
A lot of people sprout their seeds and then transfer them into a potting mix, but I’d rather skip that step and just make this easier, so I don’t do that.
I like to dampen the soil before sowing seeds so they don’t get washed away, and to make sure the soil is damp enough. You can use a spray bottle (which will become your best friend as a microgreens grower) to make sure you’re not overwatering.
3. Sow Your Basil Microgreen Seeds
Planting basil seeds is also pretty easy, whether you are planting genovese basil microgreens or sweet basil. Since you’re growing microgreens you can sow many more seeds in a smaller flat than you would if you were going to let the basil plants mature.
Generally, around 15-20 per square inch is a good rule of thumb. Of course, this method won’t be perfect unless you buy an expensive tool for making sure you use the right amount of seeds.
Once you’ve got your seeds in the soil, they should be covered with around 1/4 inch of soil, so you can just lightly dust them with some soil on top.
4. Dampen the Soil Again
We’ve already dampened the soil before planting, but you’ll want to make sure the soil you put on top of the seeds is also damp.
You can use your spray bottle again here to dampen the soil.
5. Introduce Heat
This step is optional but will provide for a faster grow time. Any variety of seed has an optimal temperature at which it’s grown, and not providing that temperature will cause the seed to grow much slower.
Basil seeds germinate best at around 70 degrees F, so if your room is colder than that, it’s going to take a bit more time to grow.
I use these heat mats to make sure the temperature gets up high enough for germination to happen quickly. /image
6. Keep Your Seeds Damp and Watch Closely
Your basil seeds will turn a shade of blue as they get wet, this is totally normal. Basil seeds have an outer gel sack called mucilage that is an adaptation that helps keep them damp if the soil is too sandy and can’t retain moisture.
This is the shade of blue you will seed around the seed shortly after it becomes hydrated.
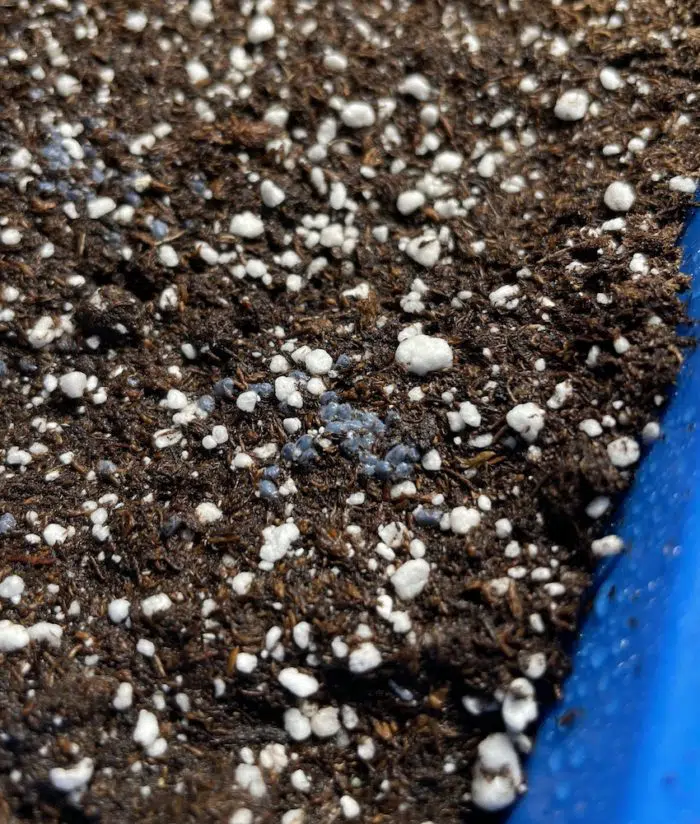
You want to keep your microgreens growing medium damp while you’re growing microgreens. The soil can get dry quickly, so you need to keep a close eye on them, especially if your growing area is very dry and warm.
I recommend checking on your microgreens trays at least once or twice a day just to make sure your seeds are getting enough water.
7. Turn Off Heat & Introduce Light
After a few days, your microgreens seeds will start to germinate and sprout up out of the soil.
You want to remove the seeds from the heat mat once they being germinating. If you leave them on, they can get leggy and not produce the microgreens you thought you were going to get.
You also want to turn on the grow lights if you have them to give the plant enough light to continue growing. Basil plants need water and direct sunlight to grow, so this is an important step. If basil seedlings aren’t given a strong enough light source, or if it’s too far away, they will begin to stretch to find light and can become leggy from this process as well.
8. Harvesting Basil Microgreens
After a few days, your basil sprouts will grow fully formed cotyledons (their baby set of leaves). You can harvest them at this point, but I recommend waiting.
Then they will begin to form another set of “true leaves” which will be packed with basil flavor. Once the microgreens have 4 leaves (the 2 cotyledons, and the 2 first true leaves), congrats! You’re at the harvest stage and are ready to harvest your micro basil with a sharp knife.
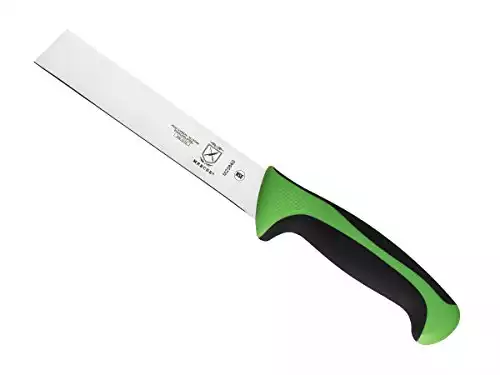
You can use scissors, but honestly, I recommend grabbing this knife. It’s around $10 and will make your life much easier.
- Ergonomic handle- a combination of Santoprene for comfort and polypropylene for durability
- Textured finger points provide slip resistance, grip, and safety. Protective finger guard.
- Made from the highest quality Japanese steel which allows for easy maintenance and a razor-sharp edge
Most microgreens won’t regrow after cutting, so you’ll want to throw your used soil in the compost bin and start again after your harvest.
9. Storing Your Microgreens
You can store your microgreens for around 7-10 days, but the sooner you use them, the fresher and more flavorful they are.
Once you harvest your greens, don’t rinse them until you’re ready to use them. Rinsing them brings dampness and the possibility of mold into play.
Instead, transfer them into a ziploc bag or glass/plastic storage containers and set them in the fridge.
That’s all there is to it!
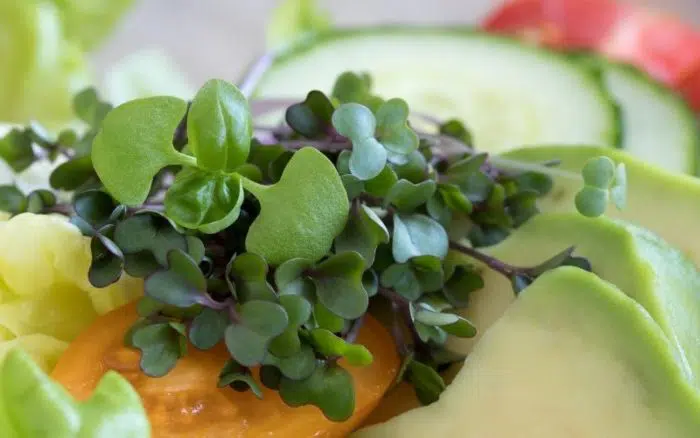
There are plenty of ways to enjoy basil, but growing basil microgreens will give your food a little extra nutrition and flavor that you’ve been looking for.


