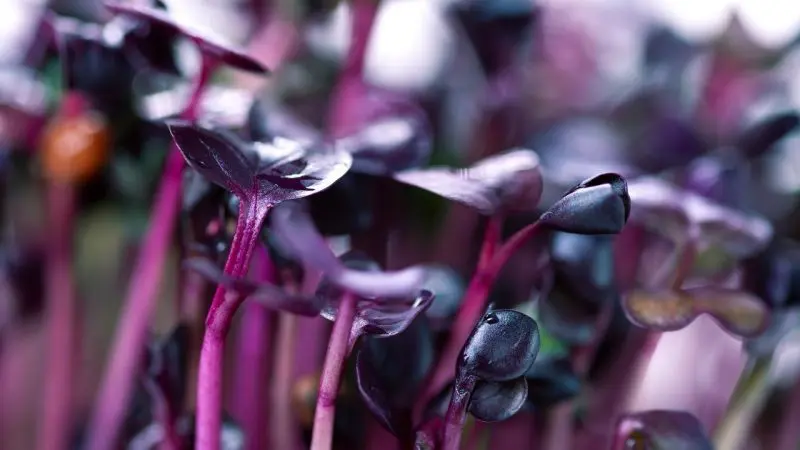
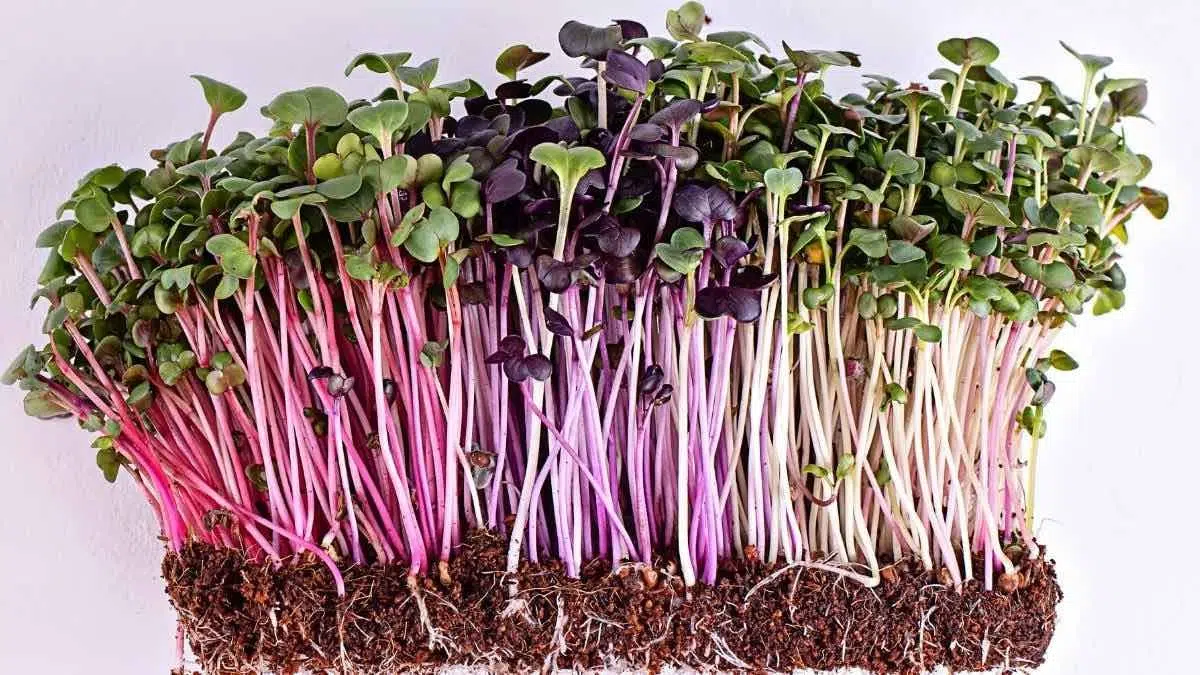
Radish microgreens are delicious and so easy to grow at home.
Microgreens contain most of the same nutrients as a mature plant, except they’re jam-packed in a tiny package. They only take a few days to grow which means you can harvest around 3-4 trays of microgreens in the same time it would take to grow a full-sized plant.
Radish Microgreens Snapshot
- Germination Time: 2-3 days
- Time to Harvest: 7-10 days
- Flavor: spicy flavor
- Do you need to soak radish seeds? No
What You’ll Need
| Product | Quantity | Link |
|---|

1. Radish Microgreen Seeds
While it may sound like you need to get specific seeds for microgreens, since they are just smaller versions of the mature plants, you can use regular seeds to grow them.
I like to get organic seeds for anything I’m growing, and True Leaf Market is a great place to do that. You can also grab organic radish microgreens seeds, which have had great germination rates as well.
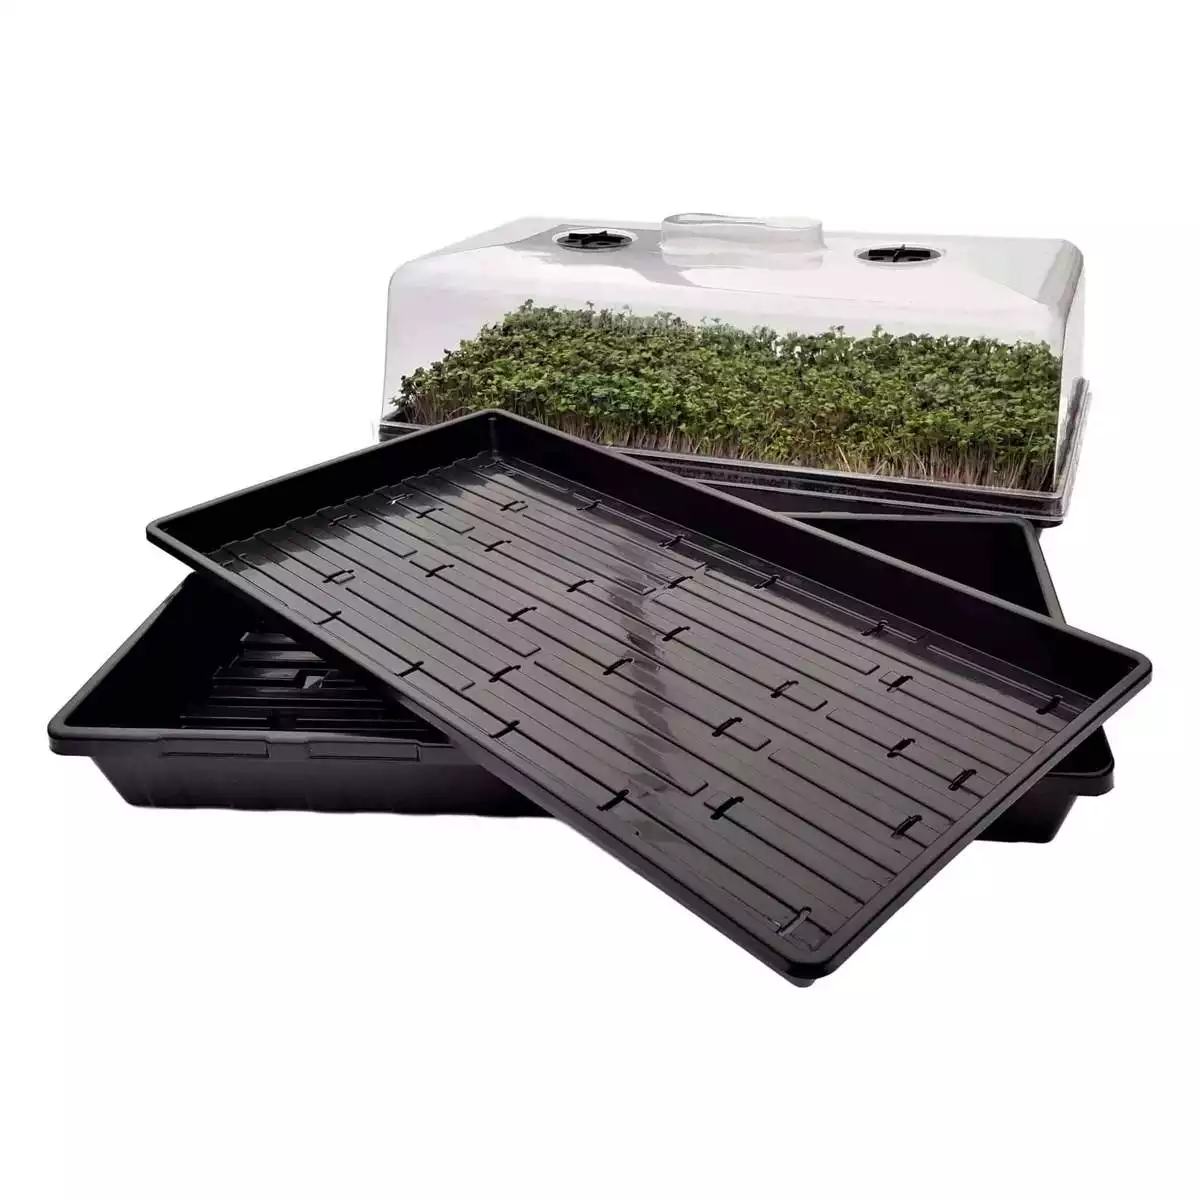
2. Two Microgreens Trays (one with holes, and one without holes)
Why two trays?
Well, the top tray with the holes is the watering tray to allow for drainage. We don’t want the soil sitting in wetness, as that can cause all kinds of issues and drown the seeds.
The tray on the bottom will help catch any water that drains through so our grow rooms aren’t a wet mess. This also allows us to bottom water the plants, which can help avoid fungus gnat problems and overwatering.
The best trays on the market, hands down.
You can select trays with holes, or without holes, many sizes and depth options as well. They do sell out frequently, so you may have to wait a few weeks to order the ones you need.
3. Potting Mix or Seed Starting Mix
You can use typical soil, or get fancier with a soilless seed starting mix or coconut coir.
4. Spray Bottle or Small Watering Can
Using a spray bottle to water your microgreens will help you avoid overwatering them. Another method you can use is to bottom water your microgreens.
5. Light Source
Grow lights work great for this. Most indoor spaces (yes, even that south-facing window you swear by) don’t get 8-10 hours of direct sunlight like your plants need to grow. Using an additional light source will make sure your plants don’t take forever to grow, and that they get the amount of light they need to thrive.
6. Heat Source
Many seeds germinate best between 70-85 degrees Fahrenheit. But most areas of your home probably aren’t between those two temperatures at all times.
This is where a heat mat comes in. Heat mats keep the temperature of the soil consistent and high enough for seeds to quickly germinate.
7. Harvesting Knife
Once you’ve grown your seeds, you’ll need a sharp knife to actually harvest your bounty! This is the one I recommend hands down.
How to Grow Radish Microgreens
Growing radish microgreens only take about 7-10 days to be ready for harvest, so you can be eating these in no time. So let’s walk through what you’ll need and how you can start growing these today.
1. Fill your seed or microgreens tray about 1/2 the way with potting mix or seed starting soil.
2. Add a few radish seeds to the top of the dirt.
You can be generous with seeding density, adding about 10 seeds per square inch of soil. Don’t worry if it’s not an even spread.
3. Cover the seeds with about ¼” more potting mix. Seeds don’t need much soil on top, just a bit will do.
You can also try the blackout method, where instead of covering seeds with the soil you put a damp paper towel or another tray on top to keep the light out. Either one works, I just find it easier to add soil.
4. Water the tray with a spray bottle.
Using a spray bottle is a simple, yet effective way to make sure you aren’t overwatering your plants.
You can use a watering can but be careful not to wash away your seeds. If you have a watering can, you might want to use it to wet the soil surface before sowing seeds. That way the seeds won’t wash away if you go to pour water on them when they’re already in the soil.
5. Place your trays in an area that gets plenty of light and airflow, and maintain a soil temperature of 65-70 degrees Fahrenheit.
If you’re growing these in winter, or have the A/C on, it might make sense to use a heat mat to maintain a consistent temperature that is warm enough.
Consider adding some supplemental light, such as from a grow light if natural light is insufficient. Since microgreens are so closely planted, damping off can be a problem. I’d recommend adding a fan of sorts to make sure there is enough moving air to help prevent this from occurring.
6. Keep the surface moist, but not soggy or wet.
Check the soil each day with your finger to test how damp the soil is. If it’s dry, give it a good mist. If it still feels wet or damp, skip that watering and wait until the following day.
After a few days the germination process/sprouting will have begun and you’ll start to see sprouts forming. If you are using a heat mat, this is the time to remove the growing tray from that heat.

How to Harvest Radish Microgreens
Your microgreens will send off the first two green leaves, called cotyledons. You can harvest at this point, or wait until the first set of true leaves has grown. This whole process takes around 7-10 days, and after that, it’s harvest time!
Harvest your radish microgreens when they are 3-4 inches tall by cutting them just above the soil line. You can store them in an airtight container or plastic bag. I don’t wash them before storage, but once I go to use them I will rinse them off with cold water.
The shelf life is around 7-10 days in the refrigerator after being harvested, so they do last quite a bit of time.
Do Radish Microgreens regrow after cutting?
Most microgreens have trouble regrowing, so it’s best to replant new seeds for your next harvest. While there is a possibility, the effort and time it would take to grow another batch is more complicated than just planting a new set of radish microgreen seeds.
Radish Microgreens Nutrition
Radish microgreens are nutrient-rich foods and contain antioxidants, folate, Vitamins A, C, and K, potassium, and manganese. Radishes are also an excellent source of fiber!
Radishes offer a refreshing contrast to more common salad and cooking greens. They have a slightly peppery flavor that is perfect for adding some spice!
Radish microgreens can be eaten raw and will add color and crunchiness without wilting quickly like many green leafy vegetables would.
How Do Radish Microgreens Taste?
Radish microgreens taste like a peppery radish. While you would think they would taste like the radish greens or leaves, they actually taste like a radish itself would.
They’re delicious, add nutrients to your diet, and add a spicy flavor to your dish.
How to Use Them
There are plenty of ways to use radish microgreens in the kitchen. You can add this spicy, radish microgreen flavor to a ton of dishes like:
- Pizza
- Salads
- Sandwiches
- Tacos
- Soups
- Guacamole
- Pad Thai
- Curry
Types of Radish Microgreens & Where to Buy Radish Seeds
You can find a ton of different varieties of radish seeds that can be used for growing microgreens.
- China Rose Radish seed
- Flavor: Spicy, floral, and sweet
- Microgreen color: Bright pink stem with deep green leaves
- Black Spanish Radish
- Easter Egg Blend
- German Giant Radish
- Hong Vit Radish
- Rambo Purple Radish
- Red Daikon Radish
- Red Vulcano Radish
Growing radish microgreens is a great way to eat more vegetables without feeling like you’re eating veggies.
Plus, they are typically ready in just a few days and have a shelf life of around 10 days so you can always have some fresh radish taste, without having to grow the entire radish plant in your garden. Radish microgreens add some variety in your diet, and they taste delicious.


