
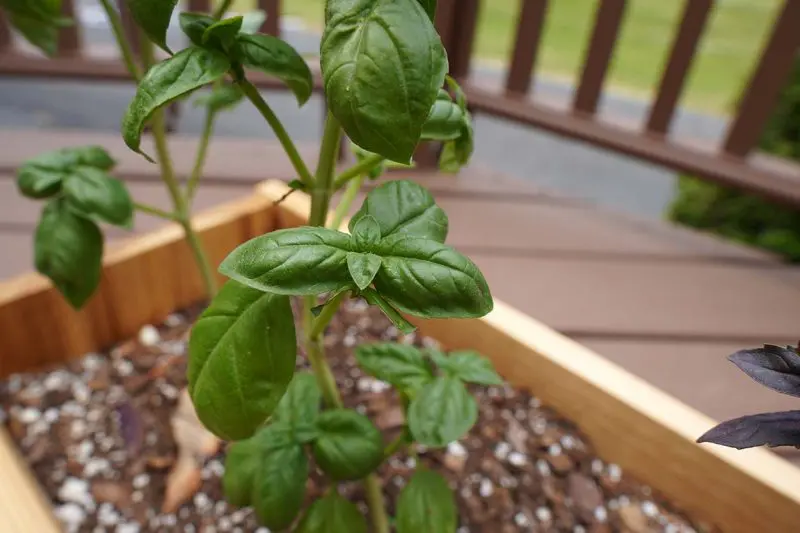
Basil is an amazing herb that has many uses. But what do you do when you have too much or as it’s getting close to winter and you have a ton of basil leftover?
Drying basil is a great way to preserve fresh basil leaves and make sure you have it throughout the cold winter. Even when you can’t grow fresh basil, it’s nice to have the dried herb to use in cooking, marinara sauces, and other dishes to keep the essence of the garden alive.
Preparing and Cleaning Your Basil
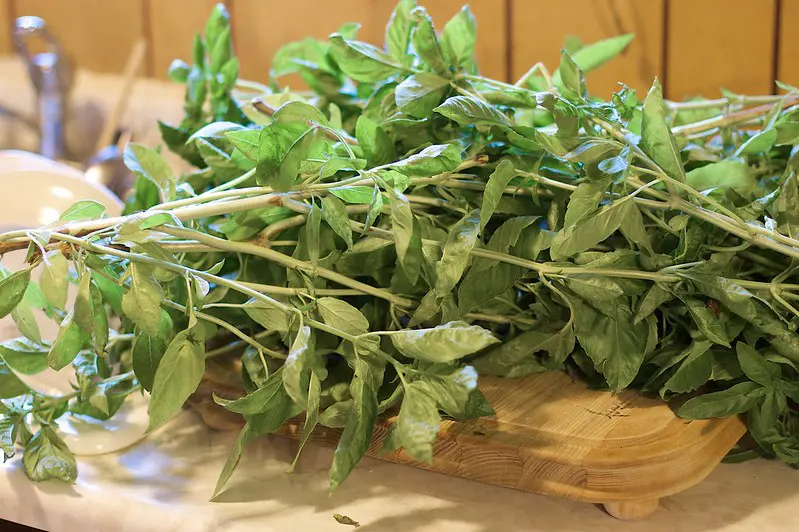
While there are many ways you can dry basil, most require the same type of preparation. After you’ve pruned your basil, you’ll want to clean your basil using a water bath.
This can be done in the sink or in a large bowl. Essentially, you just want the basil to soak for a few minutes to remove any dirt and bugs or pests that remain.
Once you’ve soaked your basil, you have a choice to make. You can either remove the leaves from the stems or leave them intact.
If you’re going to air dry or sun dry your basil, leave the stems on for easy hanging.
If you’re going to be using the oven, microwave or a dehydrator, you can either leave them on or get rid of them. They do retain some flavor though, so I like to keep them on until after the drying process is complete.
4 Ways to Dry Your Basil
Once you’ve washed your basil and it’s dry, there are a few options for you to be able to dehydrate or dry out your basil.
1. Air Drying or Sun Drying Your Basil
Air drying your herbs is a time-tested method that works well, but it does take quite a bit of time. Herbs generally need to hang for about 2 weeks before it’s fully dry and ready to be stored.
- How long it takes:
- 2-3 weeks
- Tools needed:
- Twine or Jute
- Somewhere to hang basil
- Pros:
- Retains the most flavor
- Requires no electricity
- Cons:
- Takes up more space
- Takes more time
How to Air Dry Basil
1. Wash your basil
I covered how to properly wash your basil above, but you can simply soak it in a bowl or the sink for a few minutes to remove any excess dirt or bugs.
2. Tie the basil stalks together with twine or other string
You can use any kind of sturdy string, but many gardeners prefer jute or twine (this one is my favorite) as it’s more durable and made for gardeners’ projects.
3. Hanging the basil
You can hang the basil where ever you have space in (or outside) your home. A few common methods are:
- Hanging it from pipes in the basement (twice on the pipes!)
- Taped to a wall
- You can also setup a 2×4 or any piece of wood between two chairs and hang the basil packs from there
Choose a place that isn’t going to be disturbed much. You also want to ensure that this space is not humid and has good air flow. If not, you could be introducing mold into the situation.
4. After 2-3 Weeks Your Basil is Ready
Once your basil is set out to dry, this is the longest step in the process. Outside, it can take around 2 weeks for basil to fully dry out.
If you’re drying basil leaves in your home, you can expect it to take around 3 weeks for your basil to dry because of the lack of sun and less airflow.
2. Drying Basil in the Oven
Drying basil in the oven is my second favorite method to preserve basil. It takes a heck of a lot less time than it would to dry outside, and still retains much of the flavor.
- How long it takes:
- 2-3 hours
- Tools needed:
- Oven
- Baking sheets
- Pros:
- Takes a lot less time than air drying
- Save space
- Cons:
- Loses some flavor in the cooking process
How to Dry Basil in the Oven
1. Preheat the oven to 170 degrees.
You can go up to around 195, but going over this temperature will cook your basil, which is not what we’re going for here.
2. Place basil on oven safe baking sheets
While arranging your basil, try not to overlap leaves too much.
3. Put the baking sheet on the top rack of the oven
This is important for your basil to dry out properly.
4. Leave in for about 1 hour and 45 minutes
You’ll likely need another 20-30 minutes after this time is up, but each oven is different so you’ll want to check it around this time.
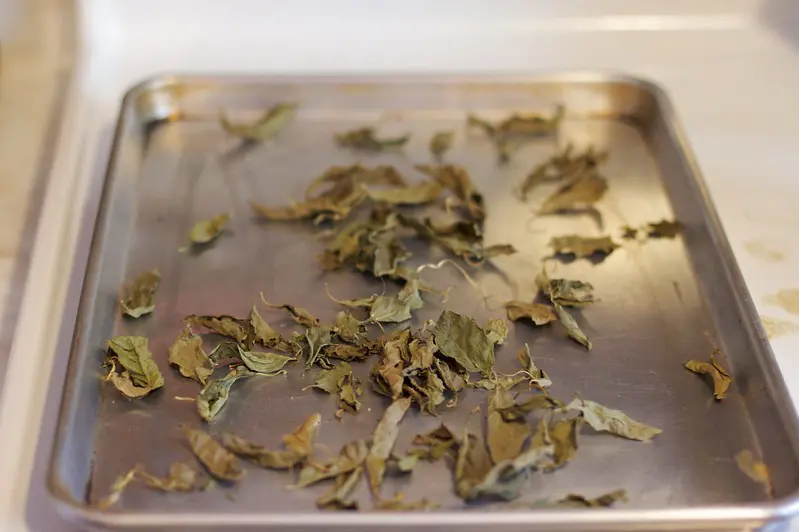
5. Once the leaves are crunchy you are done
Make sure to check for any wet leaves hiding under the crunchy ones. If you have even just one wet leaf to your storage container, the whole jar will mold and ruin your basil batch.
If you find any wet leaves, you can remove any crunchy leaves on top and place them back in the oven to fully dry out.
3. Drying Basil in the Microwave
If you’re in a time crunch, you can definitely use the microwave to accomplish the process of drying your basil. While it seems to remove the most flavor, it is by far the fastest method for drying fresh basil.
- How long it takes:
- 15-20 minutes
- Tools needed:
- Microwave
- Pros:
- Is the quickest method
- Saves on space
- Cons:
- Loses the most flavor in the cooking process
How to Dry Basil in the Microwave
1. Place basil on a microwave safe dish
Make sure your leaves aren’t overlapping too much so each leaf can dry out properly.
2. Put dish in microwave for 1.5 minutes
3. Check on your basil
If it is crunchy, you can remove and you’re done. If it’s not crunchy, put basil back in microwave for another minute.
As I mentioned, this method does take a little more flavor away from the basil, but it is a super efficient method for drying basil.
4. Drying Basil with a Dehydrator
A dehydrator is a great tool to have in your home, especially as you start growing more and more herbs, vegetables, and fruits and want to preserve them through the winter.
A dehydrator can run you anywhere from $40-$200+ depending on the features and size you’re interested in. This one is only $40 and has 8,600 ratings with a 4.5 star average (DAMN!).
- Four-tray system for dehydrating foods at a fraction of the cost of commercially dehydrated foods with no additives or preservatives
- See-through cover to monitor drying progress on top tray; Bottom-mounted fan and heating element provide consistent airflow for optimum drying
- This dehydrator operates at a preset temperature of approximately 165°.

It’s nice because it saves time compared to air drying your foods, but compared to using the oven or microwave, it is a little more time-consuming.
- How long it takes:
- 12-13 hours
- Tools needed:
- A dehydrator
- Pros:
- Retains more flavor than oven or microwave
- Saves space
- Cons:
- More expensive method
- Takes 2nd place for the longest method
- Still does lose flavor compared to air drying
How to Dry Basil in a Dehydrator
1. Place washed basil on dehydrating racks
Removing the stems will give you more space on each rack, so if you are finding it hard to fit everything, go ahead and remove them.
2. Dehydrate until leaves are crunchy
Put your dehydrator on the “herb” setting, or the lowest setting if that’s not an option for you. This will end up being around 95-100 degrees Fahrenheit.
3. Check Basil after 6 hours
While it can take 12-24 hours depending on your dehydrator, you’ll want to start checking it around the 6-hour mark to see if it’s ready. You want your basil to completely crumble and fall apart when you touch it. It should feel like a crunchy leaf you’d step on in autumn.
How to Store Dried Basil
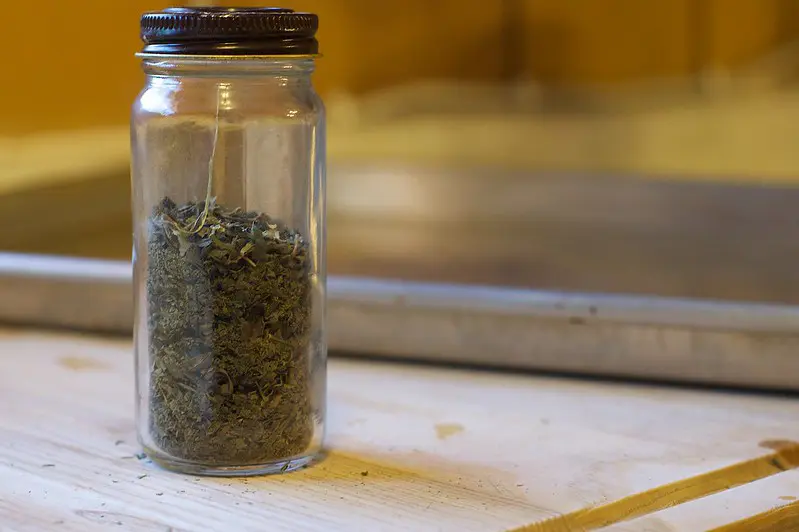
Once you’ve dried your basil, you’ll want to properly store it away for later use.
Spice Jars
Spice jars are what you’ll find dried herbs in at the grocery store. You can absolutely use these to store your herbs, and they’re great if you only have a small amount to save.
Mason Jars
Mason jars are great for storing and preserving dried herbs if you have a larger amount to save. These are great because many homes already have some extra lying around.
Ziploc Bags
A household staple for most, this is another great option and allows you to remove most of the air to keep your herbs even fresher.
Keep leaves whole and you’ll get a longer-lasting, more flavorful dried basil than you will if you crumble the leaves as soon as they’re done drying.
Don’t Forget to Label Your Basil
Did you catch that rhyme? Ha, don’t mind me.
But seriously, do your future self a huge favor and make sure to name and date your container. I’m the guiltiest at thinking I’ll remember what it is or when I did it and then I’m stuck scouring old pics I hope I took that day to get an estimate.
How Long Does Dried Basil Last?
Most places say it lasts for anywhere from 1-3 years, but I like to use my basil before then. It just seems to lose a lot of flavor and enjoyment after 6-7 months for me.
What is the Best Way to Dry Basil?
Now that we’ve looked at the 4 most common methods for drying basil, which should you go with?
Here is a quick recap for you.
| Method | Time Required | Flavor |
| Air Drying | 2-3 weeks | Best |
| Oven | 2-3 hours | Great |
| Microwave | 5-10 minutes | Good |
| Dehydrator | 6-24 hours | Great |
While each has it’s pros and cons, my preferred method is air drying, or using a dehydrator.

Dried Basil vs Fresh Basil in Cooking
Dried herbs are much more potent than their fresh counterparts. When using dried herbs in recipes that call for fresh herbs, make sure to use the 1 to 3 rule.
This means, that if a recipe calls for 3 teaspoons of an herb, only use 1 teaspoon if you’re using the dried version.
If you’re like me, you’ll want to taste test as you go to make sure this holds up. Sometimes as an herb gets towards the end of its shelf life, it will lose quite a bit of flavor, so keep that in mind.

Home dried basil has much better flavor than that purchased in jars.
Thank You very much this article helped me figure out the method I will use to dry my Basil. Also gave me information on ways of using my Basil
EXACTLY what I was looking for! Thank you for all the info! Harvested a ton from my tower garden and wasn’t sure which way was best – I’m going to do half hanging and half dehydrator and see what happens 🤩.
This gave me the exact information that I needed. Thank you!