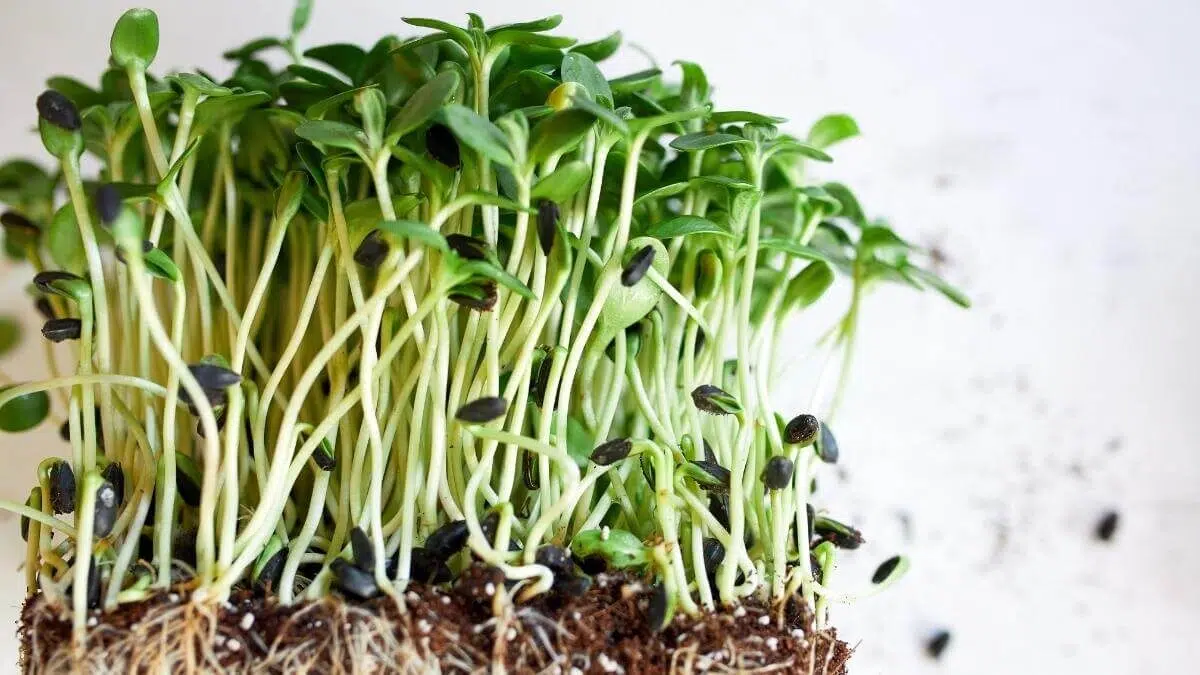
Ever wish you could get that nutty sunflower taste in a small green variety? No? Me either. But after having these microgreens, I was hooked.
They taste so similar to the seed itself but are packed with nutrients and vitamins (like vitamins A, C, and E), so it makes sense that sunflower microgreens have been getting more popular over the last few years among microgreens growers.
Sunflower Microgreens Snapshot
- Seeding Rate per Tray: 5 Oz.
- Soak Seeds: 4-5 hours
- Blackout Time: 3-4 days
- Germination Time: 2 to 3 days
- Days to Harvest: 8 to 12 days
- Flavor: Nutty, but fresh and crunchy
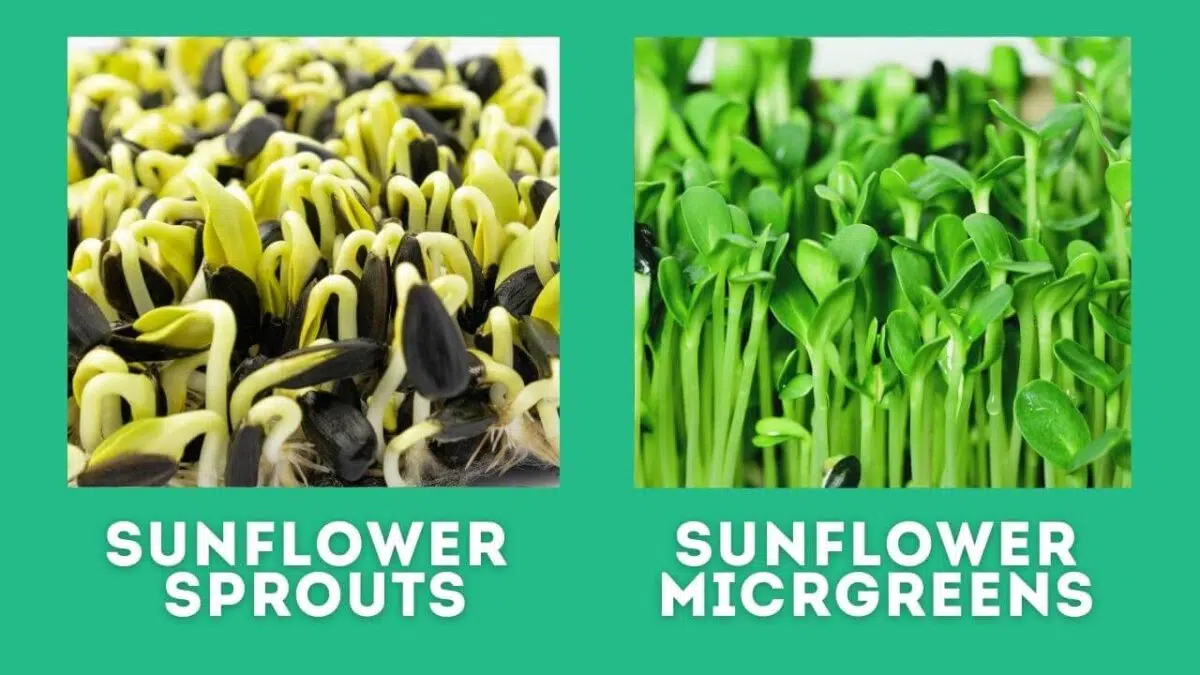
Sunflower Microgreens vs Sunflower Sprouts
These words are often confused, so let’s dive into this a little.
If you soak sunflower seeds and let them sit, they will produce a shoot at which point they are considered sunflower sprouts.
If you let that sprout grow in some soil or other growing medium, they will grow roots and produce leaves at which point those greens are considered a sunflower microgreen.
How to Grow Sunflower Microgreens
Growing sunflower microgreens is pretty straightforward and simple for even the most novice gardener. Here are the steps for growing your own sunflower microgreens.
Microgreens Supplies
Here’s what you’ll need to start growing your own microgreens:
No matter where you get your seeds, make sure you’re using black oil sunflower seeds and not just “typical” sunflower seeds.
| Product | Quantity | Link |
|---|
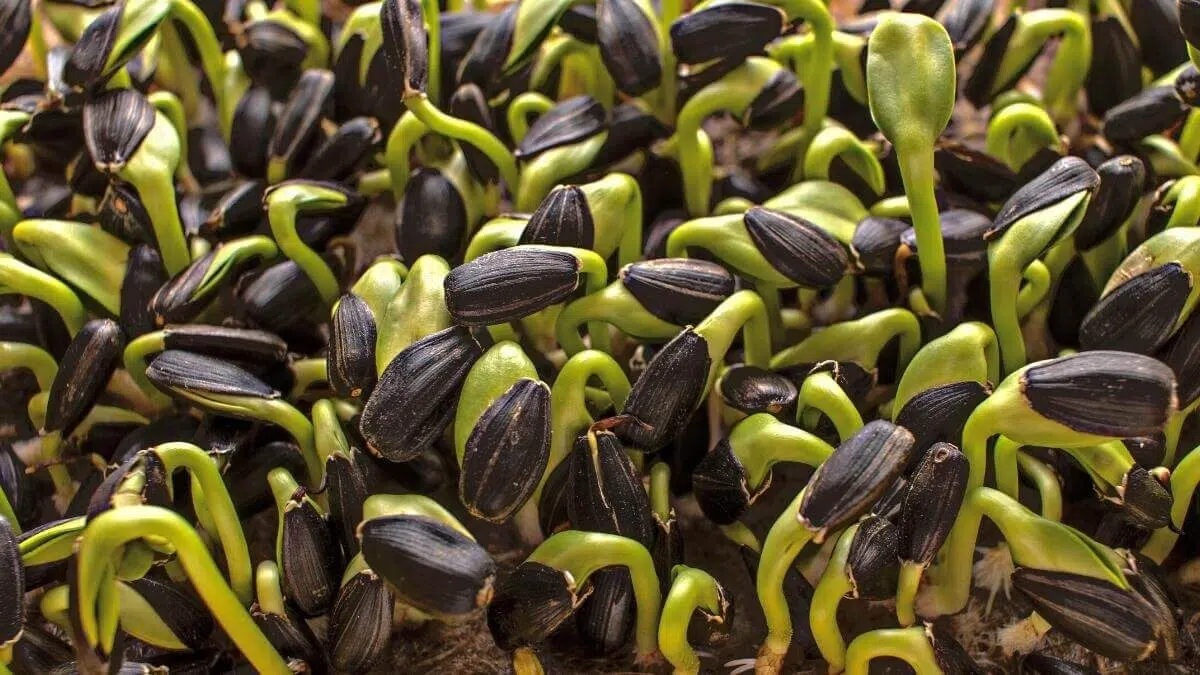
1. Soak Your Seeds
When you soak your seeds, you’re going to drastically increase your germination rates. But you don’t want to soak them for too long. 3-5 hours of soaking is great.
Sunflower seeds float, so add a little weight on top of the mesh bag you’re soaking them in.
2. Get Your Trays Ready
While your seeds are soaking, you can get your microgreen trays ready to go. As I mentioned above, you’ll want one tray with holes that hold the soil and is the top tray. The second tray shouldn’t have any holes (as it’s going to be holding water) and goes on the bottom.
Make sure you’ve sanitized your trays between grows to avoid spreading any fungal diseases to the next batch.
3. Add Your Growing Medium
There are a number of growing mediums for microgreens, but the one I love is a soilless mix – also called seed starting mix.
This is the one I grow all of my microgreens and seeds in.
You want to add enough growing medium to fill the tray, but not overfill it. Make sure to fill the corners well.
4. Even Out the Soil
Now that you’ve added your soil, you want to go ahead and level it out. It’s easiest to put another tray (or the one from the bottom) and gently tamper it on top of the soil. This will create an even layer of soil and help you get good germination rates.
5. Add Seeds to the Top of the Soil
It’s time to add your seed! Try and spread your trays out evenly over the top of the soil.
Moving your hand across the top of the tray is a good way to do this.
Press down the soil again once your seeds are in there. This will help push the seeds into the soil just enough to help them root below the surface.
Without this step, you might have seeds that root on top of the soil and end up falling over because they don’t have a good structure.
6. Water Your Seeds Well
This is where a good-quality sprayer is going to come in handy. Spray water across the entire tray to get the seeds and soil wet.
Don’t worry about overwatering them, remember that we have those holes in that top tray so any excess water will drain through.
We won’t be watering them for the next few days, so this initial watering is going to last them through that time.
7. Add a Tray & Weight on Top
Once your seeds are ready to go, it’s time for the blackout phase to begin.
Add another tray to the top of the seeded one. Then go ahead and add some weight on top (around 5-10 lbs). This helps the seeds root into the soil and helps them grow strong because they have to push up on the tray to grow.
Let them grow for 3 days.
8. Remove Top Tray
Once they’ve been growing in the dark for a few days, it’s time to bring them into the light and remove the top tray.
They will be yellow at this point, that is normal. Putting them under the light will help them green up and grow tall.
9. Water Them Daily
Make sure to give them water each day to avoid the roots from drying out and preventing mold.
10. Harvest Day!
After around 10 days, your sunflowers will be ready to harvest!
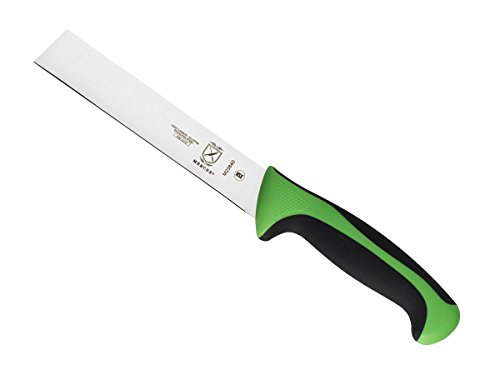
You can use a sharp knife or pair of scissors, but getting the right knife (this is a great one that is super affordable) will provide a clean cut and a more professional look which is important if you’re selling microgreens to customers.
- Ergonomic handle- a combination of Santoprene for comfort and polypropylene for durability
- Textured finger points provide slip resistance, grip, and safety. Protective finger guard.
- Made from the highest quality Japanese steel which allows for easy maintenance and a razor-sharp edge
12. Remove the Hulls
Sunflowers don’t always shed their hulls before they reach the harvest stage. Instead of accidentally chewing on a seed, or having a customer do so, it’s ideal to go through and sort out the hulls before packing and storing them. It’s not a hard job, but it can be tedious.
Can You Eat Sunflower Microgreens?
You can eat both sunflower sprouts and sunflower microgreens as they are edible and full of nutrients.