Growing pea microgreens is one of my favorite things lately. They pack a sweet pea flavor and have tons of nutrients in such a small package.
All it takes is around 8-14 days and you could have your own microgreens tray full of delicious pea shoots or pea microgreens.
Pea Sprouts vs Microgreens vs Pea Shoots
Before we start growing, let’s clarify the difference between sprouts and shoots.
If you soak peas and let them sit, they will produce a small sprout after a few days, at which point they are considered pea sprouts.
If you let that sprout grow in some soil or other growing medium, they will grow roots and produce leaves at which point those greens are considered a pea microgreen.
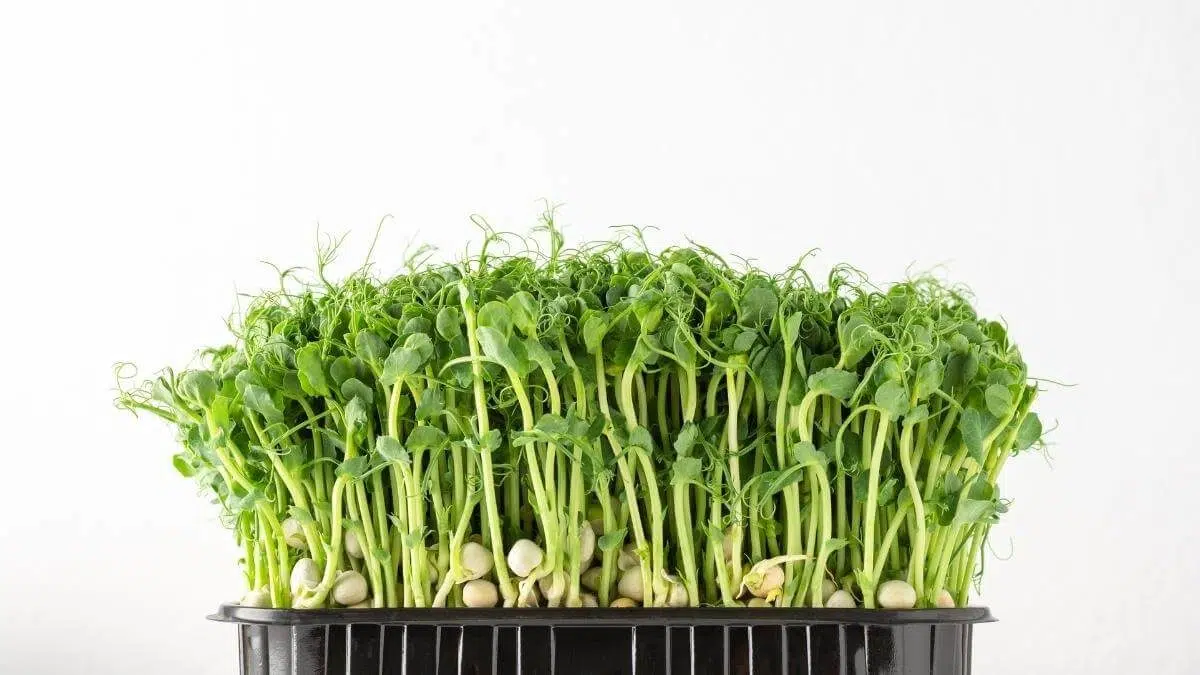
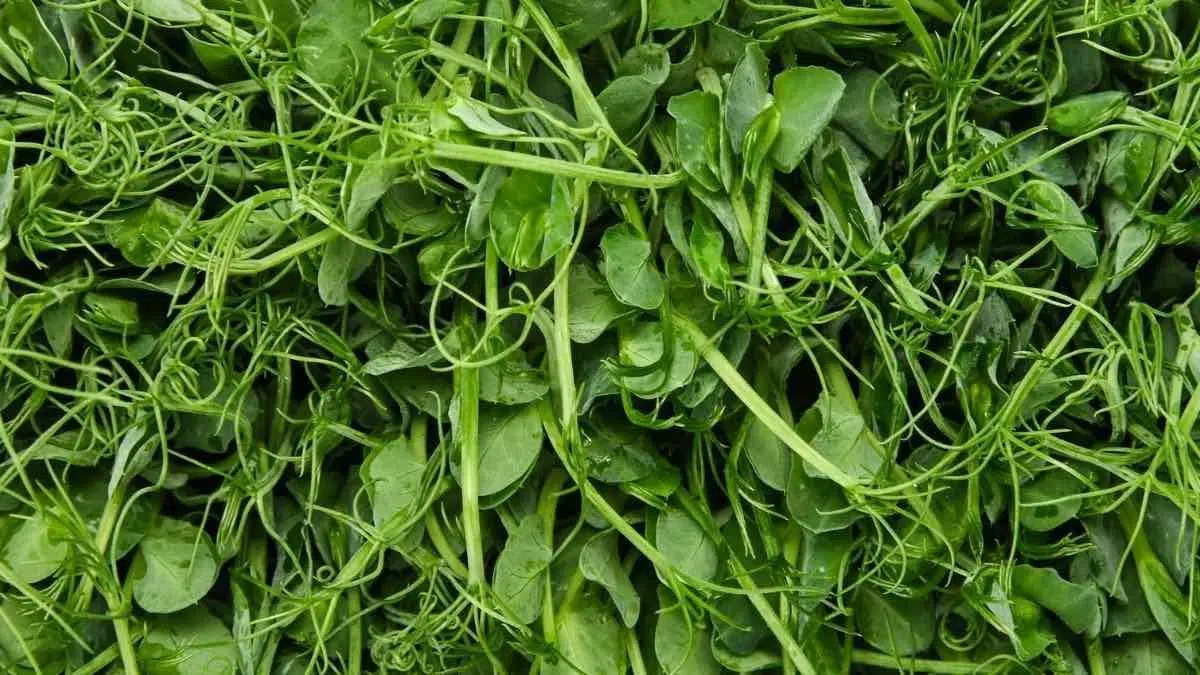
Pea microgreens are the young greens of the pea plant, harvested 7-14 days after germination. They have cotyledons, but not yet pea tendrils.
Now to complicate things even further, if you let that microgreen grow a bit more and form tendrils, these would now be considered pea shoots.

How to Grow Pea Microgreens
Growing pea microgreens is pretty straightforward and simple for even the most novice gardener. Here are the steps for growing pea shoots.
Pea Microgreens Supplies
Here’s what you’ll need to start growing your own pea microgreens:
| Product | Quantity | Link |
|---|
What You’ll Need
- Microgreen trays
- Grow lights
- Soil or another microgreens medium
- Pea seeds
- Water source (i.e. spray bottle or watering can)
Yield: Generally a pound of pea seeds will produce 2 pounds of microgreens.
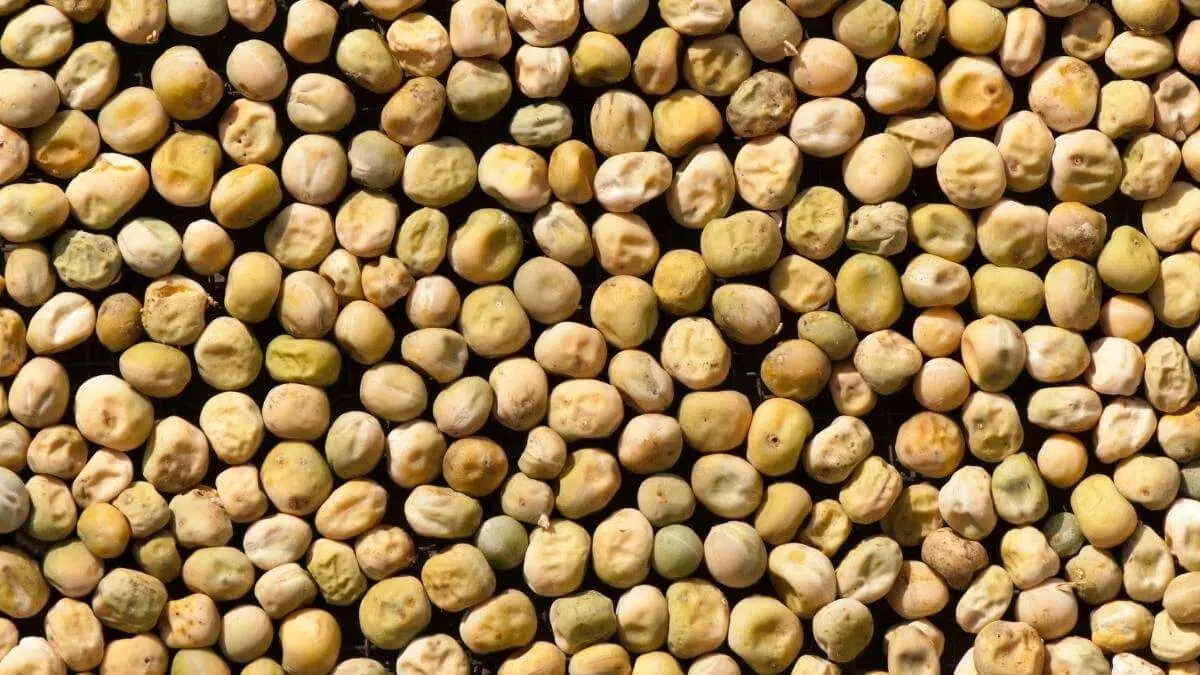
1. Get Your Pea Seeds
You can pick up peas at a variety of places, but there are a few things to look for. I always try and choose organic whenever I can to reduce the number of chemicals and pesticides I’m consuming.
This is where I get most of my microgreen seeds.
2. Soak Your Seeds
You’ll want to soak your peas overnight, or for at least 8-12 hours to jumpstart the sprouting process. This can be done in a glass jar, reusable food container, or in a separate microgreens tray.
If you skip this step, it’s going to take a lot longer for the pea seed to sprout and you might end up with worse germination rates.
3. Prepare Your Growing Medium
While your seeds are soaking, it’s a good time to get the rest of your materials ready.
Microgreens need some kind of soil medium to go past the sprouting stage. This can include coco coir mats, seed starting mix, or even just a simple paper towel to help the roots flourish.
I like to moisten the growing medium before I sow the seeds in there.
4. Plant Your Seeds
Spread out your soaked seeds over the growing medium and make sure it’s moist enough for them to continue growing. There is no need to add soil or growing medium on top, as these will sprout over the next few days.
5. Add a Tray on Top
This might sound strange because plants need light to grow right? Well, yes. But in the beginning, you want to cover the seeds for what’s called the “blackout stage”.
The weight of the tray will help with even germination, and then forcing them to grow taller looking for light.
Check your seeds each day and add water as they dry out. Generally, this will be once a day that they’ll need some more water.
5. Incorporate a Light Source
Once seeds have sprouted (after around 2-3 days with a lid on), they do need some kind of light source to grow. I use these grow lights to make sure my plants have enough light.
Plants follow the light, so make sure the light source is directly above and close enough that they do not become leggy and start stretching to get more light.
While you do want taller plants for microgreens, leggy seedlings are not as dense and will produce lower yields.
Your microgreens will need this light source through the rest of their growing life.
6. Water and Watch
You want to keep a close eye on your microgreens and water as necessary. This will vary depending on how dry or humid your grow room is, but a good rule of thumb is to actually feel the soil or growing medium and make sure it’s moist, but not overly moist.
Think of a wet sponge, you want it to be wet, but not dripping.
7. How to Harvest Pea Microgreens
Around 3-6 days after germination, your peas will be ready to harvest.
You can wait until they have tendrils, in which case this would be considered pea shoots. Or you can harvest them before that stage and have true microgreens.
You can use a regular knife or pair of scissors, but getting the right knife (this is a great one that is super affordable) will provide a clean cut and a more professional look which is important if you’re selling these to restaurants or at a farmers market.
How to Store Pea Microgreens
Keep your microgreens in the refrigerator after harvest to ensure proper storage. Don’t rinse the microgreens until you’re using them as they will store longer and prevent
They will last around 3-7 days or more if stored properly.
What Do Pea Microgreens Taste Like?
Pea microgreens have a mild, sweet flavor with a hint of grassiness. This might sound strange, but if you like peas, you’ll understand and will probably love pea microgreens.
Are Pea Microgreens Healthy?
Pea microgreens are known to have anti-inflammatory properties, help with heart health, and are said to regulate blood sugar.
Which Peas Are Good as Microgreens?
You can grow any type of peas as microgreens. Choosing a variety you already know and love is a great place to start. English peas, sugar snap peas, and snow peas can all taste great as microgreens. Dun peas and speckled peas are some of my favorites.
Related: 41+ Fun Types of Microgreens to Try Growing