Since the days of Popeye, spinach has been one food our parents have always been telling us to eat. And for good reason!
Spinach is good for your body in a variety of ways, and is full of nutrients like:
- Vitamin A
- Vitamin C
- Vitamin K1
- Folic acid
- Iron
- Calcium
It can be hard to get enough spinach into your diet to get the health benefits if you’re not a fan of greens. But growing microgreens is a great way to incorporate more spinach without having to crush a can of spinach a day like our favorite sailor.
Spinach microgreens are completely edible and have all the same nutrients as regular spinach but it comes in a much smaller package.
How to Grow Spinach Microgreens
What You’ll Need
| Product | Quantity | Link |
|---|
1. Get Your Spinach Microgreens Seeds
You can use regular spinach seeds to grow microgreens since they are just a small version of the bigger plant. There is no need to go out and search for spinach microgreens seeds, but I would make sure they are organic since you are eating them.
There are plenty of different types of spinach, so you can get creative with the seeds you choose to grow into microgreens.
Here are some good places to grab spinach seeds:
2. Prepare Your Growing Medium & Trays
Spinach seeds grow well in seed starting mixes that are lightweight and allow the roots to easily develop. You can also use some coco coir mats as a growing medium to start your seeds in.
I always seem to have seed starting mix on hand so that’s generally what I’ll use for microgreens. Once you have the soil, you want to spread it throughout your trays.
As far as microgreens trays go, these are my favorite trays as they’re super durable and can be used over and over, unlike the cheap ones you buy on Amazon that break after a few uses.
3. Setup Grow Lights
You technically can grow microgreens indoors by a window, as long as it gets a solid 8-10 hours of sunlight each day. The key to growing good microgreens is consistency with temperature and light, so grow lights are generally recommended as they can be controlled well.
If you grow them near a window and encounter a few cloudy days where the sun isn’t shining, your plants can suffer and will take a few extra days to grow.
While you don’t need grow lights for seeds to germinate, once they do you will require some sort of light source.

4. Plant Your Seeds
Once you have your grow room set up, planting the spinach microgreens seeds is pretty straightforward.
When growing microgreens, you can more heavily concentrate your seeds as compared to if you were planning on growing full spinach plants.
Place a thin layer of soil on top of the seeds, but don’t plant them too deeply as they really only need around 1/4 inch of soil on top. This can easily be achieved by raking the soil or growing medium with your fingers.
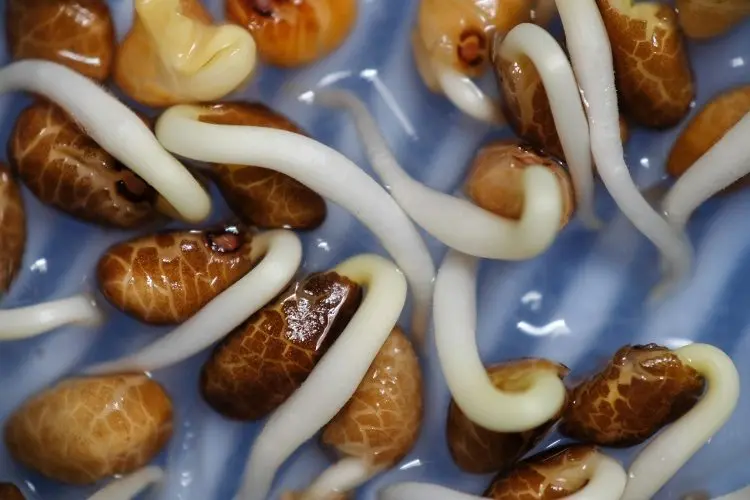
5. Add Lights When Your Seeds to Germinate
As I mentioned above, you don’t need to have a light source until your seeds germinate (i.e. sprouting seeds). I turn mine on from the beginning because it’s not always easy to catch them as soon as they sprout.
If you didn’t have lights on your plants up until this point, now is the time to turn your grow lights on.
Without the proper light, your seedlings will become leggy and start to fall over. Make sure your light source is strong enough and close enough to your seedlings so they aren’t stretching for the sun.
6. Watering Tips to Keep Seeds Hydrated
There are 2 main ways to water your microgreens. Bottom watering is when you fill a tray of water below the trays of seeds and let them soak up the water they need for a few minutes. It provides a more even coverage of your plants and helps you almost completely avoid problems that come with overwatering, like fungus gnats and mold.
You can also water from the top using a spray bottle to mist your microgreens trays 1-2 times per day. You want to make sure your seeds aren’t completely soaked, but they do need to be damp – using a spray bottle instead of a watering can will help avoid overwatering.
7. Harvesting Your Spinach Microgreens
Once of the benefits of growing microgreens is that it doesn’t take long to get to the point of harvest. After around 7-10 days, it will be time to harvest your microgreens trays!
The general rule of thumb is to harvest your microgreens while they have their cotyledons (the baby leaves you see) but before their first set of true leaves come in.
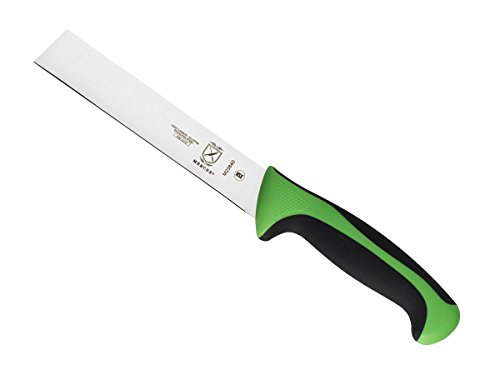
Make sure you’re using a sharp enough knife to cut them, otherwise you might end up with a mess on your hands. You can grab a super sharp knife on Amazon for around $10-$15.
- Ergonomic handle- a combination of Santoprene for comfort and polypropylene for durability
- Textured finger points provide slip resistance, grip, and safety. Protective finger guard.
- Made from the highest quality Japanese steel which allows for easy maintenance and a razor-sharp edge
Storing Microgreens
Spinach microgreens can be used immediately or stored in a refrigerator until you’re ready to use them.
Microgreens will stay fresh for 3-7 days, but the sooner you eat them, the better they taste! IMO
After your harvest them, do not rinse your microgreens until you’re ready to use them. This helps you avoid encountering things like mold and help them stay fresh longer.
You can place them right into a Ziploc bag or other airtight container and put them in the fridge.