Carrot microgreens are packed full of many of the nutrients the full-grown plant has, but in a much smaller package. They’re easy to grow, and add a great taste to foods.
Carrot Microgreens Snapshot
- Germination: 3-6 days
- Harvest time: 18-25 days
- Flavor: Similar to carrots, but milder
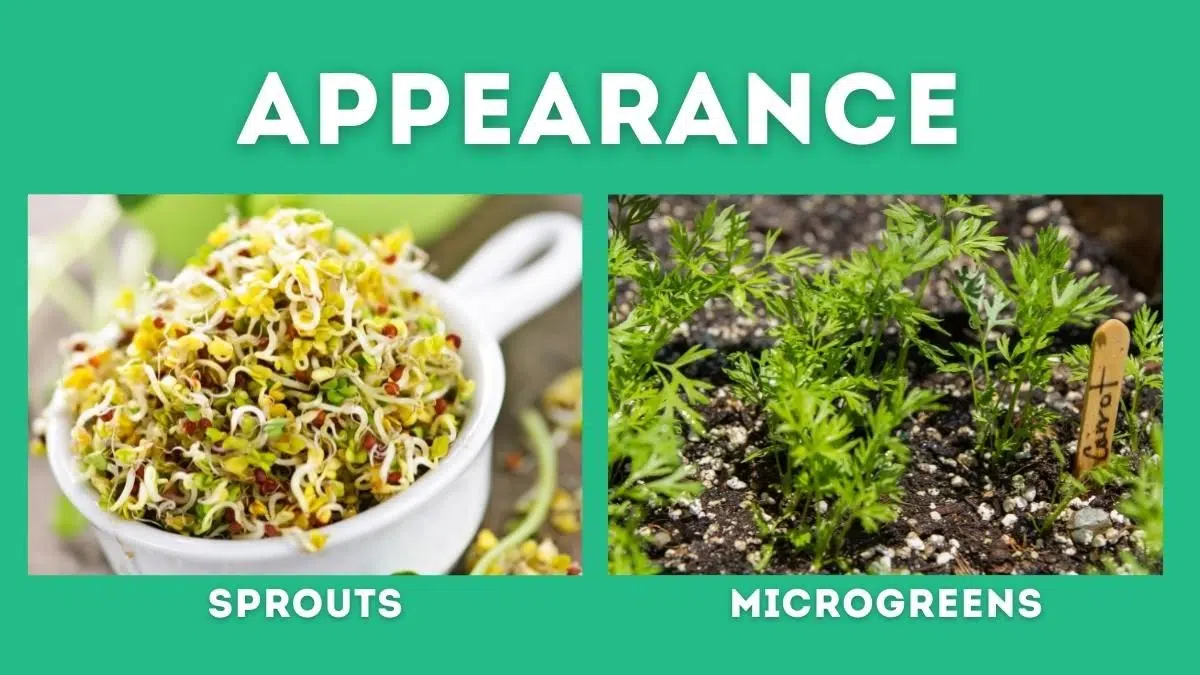
Carrot Microgreens vs Carrot Sprouts
Sprouts are not the same as microgreens. They are essentially what you would harvest right after the seed shoots out a little branch.
Microgreens are more mature as they have leaves on them, but they are not as developed as the fully grown plant.
How to Grow Carrot Microgreens
It’s not hard to grow carrot microgreens, but it does take a bit longer than other types of microgreens.
What You’ll Need
Here are some of the main supplies you’ll want to get to grow carrot microgreens:
| Product | Quantity | Link |
|---|---|---|
| Carrots Seeds | 5-10 grams | View Product |
| Heat Mat | 1 | View Product |
| Microgreen Tray (with holes) | 1 | View Product |
| Microgreen Tray (without holes) | 1 | View Product |
| Harvesting Knife | 1 | View Product |
| Growing Medium | 1 | View Product |
| Grow Lights | 1 | View Product |
1. Choose Your Carrot Microgreens Seeds
First, you want to pick the variety of carrots you want to grow.
Common Types of Carrots
- Danvers
- Nantes
- Purple carrots
- Scarlet
- Rainbow blend <– this one is cool to see grow and delicious!
Yield: 2 to 1 microgreens to seeds
- 1 ounce of carrot microgreens seeds will produce 2 ounces of microgreens
All types of carrots can be grown as microgreens and you will get delicious microgreen leaves on any of them. There are seeds marketed as “carrot microgreen seeds” but they are generally the same thing as regular seeds.
2. Soak Your Carrot Seeds (Optional)
Soaking seeds for around 30-60 minutes will help produce more uniform germination (i.e. more of the seeds will sprout at the same time).
3. Prep Your Seed Trays and Soil
To grow microgreens, it’s ideal to have two microgreen trays:
- You’ll want one tray with holes to drain any excess water
- And another on the bottom without holes to catch any water (and keep your grow room from looking a mess!)
Evenly spread out your seed starting mix or growing medium in the tray, making sure to leave a little room at the top so you can add a small layer of soil on top of the seeds you’ll be sowing.
Dampen the soil with a watering can or spray bottle before you plant your seeds. I tend to use a spray bottle because it keeps me from overwatering the seeds too much. Wetting the soil before planting helps you make sure you’re not washing away the seeds.
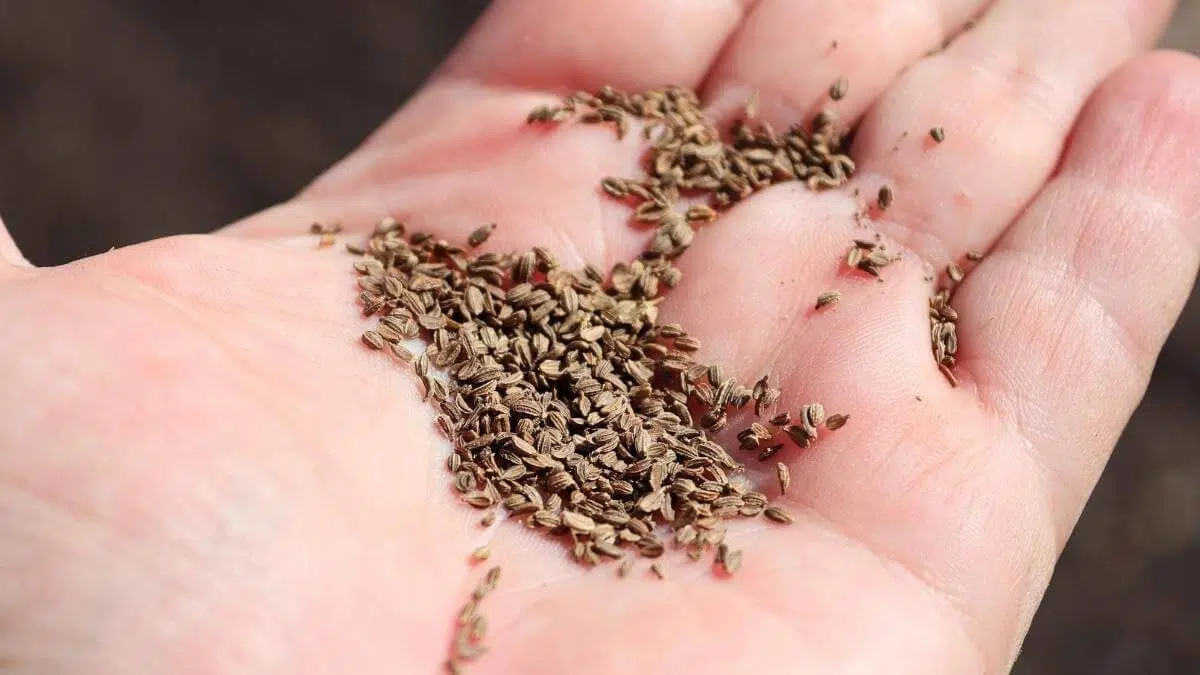
4. Sow Your Carrot Seeds
Sprinkle seeds across the soil surface of your growing tray. The seeds can be quite small so be careful when you first open up the bag.
Try to evenly spread them out – if you accidentally pour a bunch of seeds in one spot just use your hand to rake them around.
Add a very thin layer of soil on top of the seeds, about 1/4 inch. Alternatively, you can gently press the seeds into the soil with your hand or the bottom of an extra tray.
5. Let There Be Light!
After seeds have sprouted, they need light to survive. I use these grow lights to provide my plants with proper lighting for photosynthesis. It is important to provide your plants with a direct light source and make sure not to leave the soil dry.
Your microgreens will need this light for the rest of their growing life in order to produce a good harvest.
Without enough light, seedlings will start growing too fast in the direction of whatever light they do find. This can lead to leggy seedlings that will start to bend over because their roots are not as strong.
Legginess can also be caused by too much heat, like when you leave your trays on the heat mat past the point of germination/sprouting….definitely NOT talking from experience here 😉
6. Keep The Soil Moist
Once your seeds are planted, you want to make sure you are properly watering them and not allowing the soil to get too try.
At the same time, you don’t want to overwater your soil as it will attract fungus gnats. For this reason, I love bottom watering plants and microgreens. Bottom watering is adding water to that bottom tray (without the holes) and allowing the plants’ roots to take in as much water as they need.
This keeps the top layer of soil stays dry and doesn’t attract those pesky fungus gnats, but the roots of the plant are damp and have enough water to grow.
Using a spray bottle helps make sure you don’t overwater them as well, so you can choose between those two options.
7. Be Patient
Don’t start worrying if they take a bit longer to grow than you’re used to. Carrot microgreens take longer than others to mature enough for a harvest.
When it comes to carrots, growing microgreens can be around 21 days, whereas other microgreens might be ready in about 7-10 days.
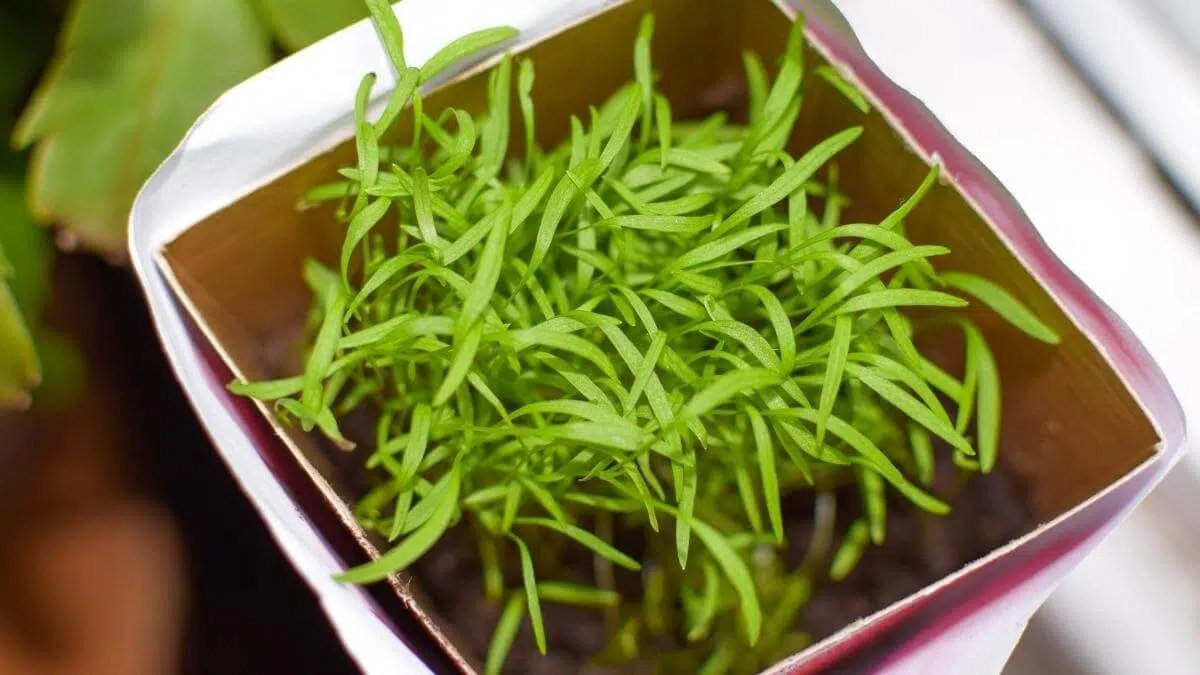
Harvesting Carrot Microgreens
Once they’ve reached about 4 inches in height, it’s time to harvest carrot microgreens!
You can use scissors, but the cuts are a bit uneven and not really ideal if you’re planning on selling your microgreens. This knife is awesome for harvesting and usually runs you less than $10.
Don’t wash your microgreens after harvest until you are ready to use them. You can store your carrot microgreens in a plastic container or bag in the refrigerator for around 7-10 days. Not washing them will help keep them fresh and lessen your chances of mold growing there.
Carrot Microgreens Nutrients
Carrot microgreens have a lot of the same nutrients as the mature, full carrot plant would have. They contain lots of vitamins and nutrients like:
- Vitamin A
- Vitamin B complex
- Vitamin D
- Vitamin E
- Calcium
- Iron
- Magnesium
- Potassium
- Phosphorus
Frequently Asked Questions About Carrot Microgreens
What Do Carrot Microgreens Taste Like?
Carrot microgreens taste like carrots. I know that’s a boring answer, but the greens of these young plants just taste like the root they eventually would turn into.
Can You Eat Carrot Microgreens?
Yes, you can eat carrot microgreens. They are the same as eating the more mature plants carrot greens and are packed with vitamins and minerals.
How to Eat Carrot Microgreens
After growing microgreens, you harvest them just above the soil line. You can give these a quick rinse and then eat them fresh. You can add them to smoothies or salads for an extra punch of flavor and nutrients.
Do Carrot Microgreens Regrow?
Similar to most other greens, carrot microgreens don’t regrow after cutting. When you harvest your greens, you are removing all of the leaves, which is how the plant would take in sunlight in order to grow.
The remaining parts of the stems will die off and you can add the soil to your compost bin.