It might seem daunting to grow your own microgreens because it’s not something most of us grew up learning how to do. But they’re becoming more popular because of the additional nutrients they offer and the versatility of the more mild flavors.
I took the time to learn how to grow broccoli microgreens, and it’s NOT hard. In fact, broccoli is one of the easiest microgreens to grow.
Let’s walk through step by step how to grow them, and what to watch out for.
Broccoli Microgreens vs Broccoli Sprouts
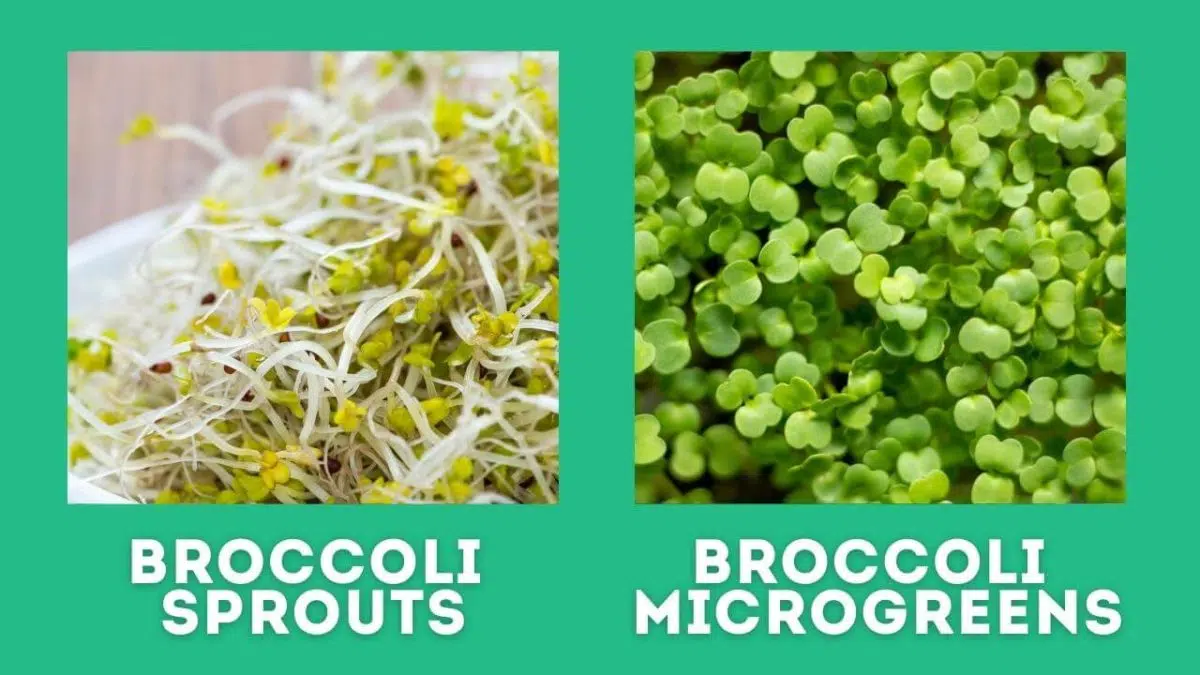
Sprouts are not the same as microgreens. Sprouts are what you would harvest right after the seed shoots out a little bit.
Microgreens are more mature as they have leaves on them called cotyledons, but they are not as developed as the fully grown plant.
Even though they’re smaller, they contain about 40x the nutrients of their full-grown plant.
The cool thing about microgreens is that around 100 grams of regular broccoli contains about the same amount of protein as 100 grams of broccoli microgreens!
Broccoli Microgreens Snapshot
- Germination Time: 2-3 days
- Days to Harvest: 7-14 days
- Do Seeds Need To Be Soaked? Not necessary
- Weighted: Yes
- Flavor: Milder than mature broccoli
What You Need to Grow Broccoli Microgreens
As I mentioned above, broccoli is one of the easiest types of microgreens to start growing.
Here’s what you’ll need to get started:
| Product | Quantity | Link |
|---|
You want to use 2 trays to grow most microgreens:
- 1 with holes that the growing medium and seeds will be in
- 1 without holes that goes on the bottom for holding water
How to Grow Broccoli Microgreens
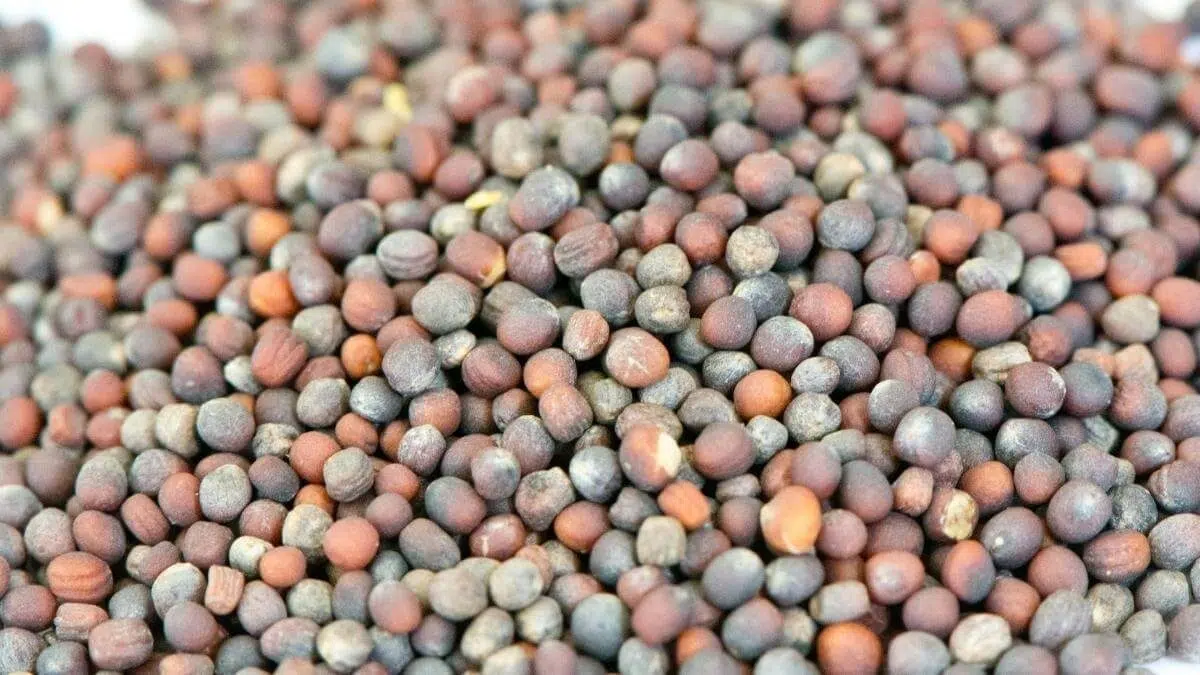
Choosing your broccoli seeds is the first step. I like these ones and have had good germination rates with them.
1. Prep Your Seed Trays and Soil
To grow microgreens, it’s ideal to have two microgreen trays:
- You’ll want one tray with holes to drain any excess water
- And another on the bottom without holes to catch any water (and keep your grow room from looking a mess!)
Evenly spread out your seed starting mix or growing medium in the tray, making sure to leave a little room at the top so you can add a small layer of soil on top of the seeds you’ll be sowing.
Dampen the soil with a watering can or spray bottle before you plant your seeds. I tend to use a spray bottle because it keeps me from overwatering the seeds too much. Wetting the soil before planting helps you make sure you’re not washing away the seeds.
2. Fill The Tray With Your Medium
Once you have your seeds, it’s time to fill the tray that has holes with your microgreens medium. You want to put enough in the tray that it’s even across the length of the tray. If you have uneven layers, it will impact the germination rates.
3. Sow Your Seeds
Sprinkle seeds across the soil surface of your growing tray. The seeds can be quite small so be careful when you first open up the bag.
Try to evenly spread them out – if you accidentally pour a bunch of seeds in one spot just use your hand to rake them around.
Add a very thin layer of soil on top of the seeds, about 1/4 inch. Alternatively, you can gently press the seeds into the soil with your hand or the bottom of an extra tray.
4. Let There Be Light!
After seeds have sprouted, they need sunlight to survive. I use these grow lights to provide my plants with proper lighting for photosynthesis. It is important to provide your plants with a direct light source and make sure not to leave the soil dry.
Your microgreens will need this light for the rest of their growing life in order to produce a good harvest.
Without enough light, seedlings will start growing too fast in the direction of whatever light they do find. This can lead to leggy seedlings that will start to bend over because their roots are not as strong.
Legginess can also be caused by too much heat, like when you leave your trays on the heat mat past the point of germination/sprouting….definitely NOT talking from experience here 😉
5. Keep The Soil Moist
Once your seeds are planted, you want to make sure you are properly watering them and not allowing the soil to get too try.
At the same time, you don’t want to overwater your soil as it will attract fungus gnats. For this reason, I love bottom watering plants and microgreens. Bottom watering is adding water to that bottom tray (without the holes) and allowing the plants’ roots to take in as much water as they need.
This keeps the top layer of soil stays dry and doesn’t attract those pesky fungus gnats, but the roots of the plant are damp and have enough water to grow.
Using a spray bottle helps make sure you don’t overwater them as well, so you can choose between those two options.
6. Be Patient
Don’t start worrying if they take a bit longer to grow than you’re used to. Broccoli microgreens take a bit of time to mature.
When it comes to broccoli, growing microgreens can be around 10-14 days.
Harvesting Broccoli Microgreens
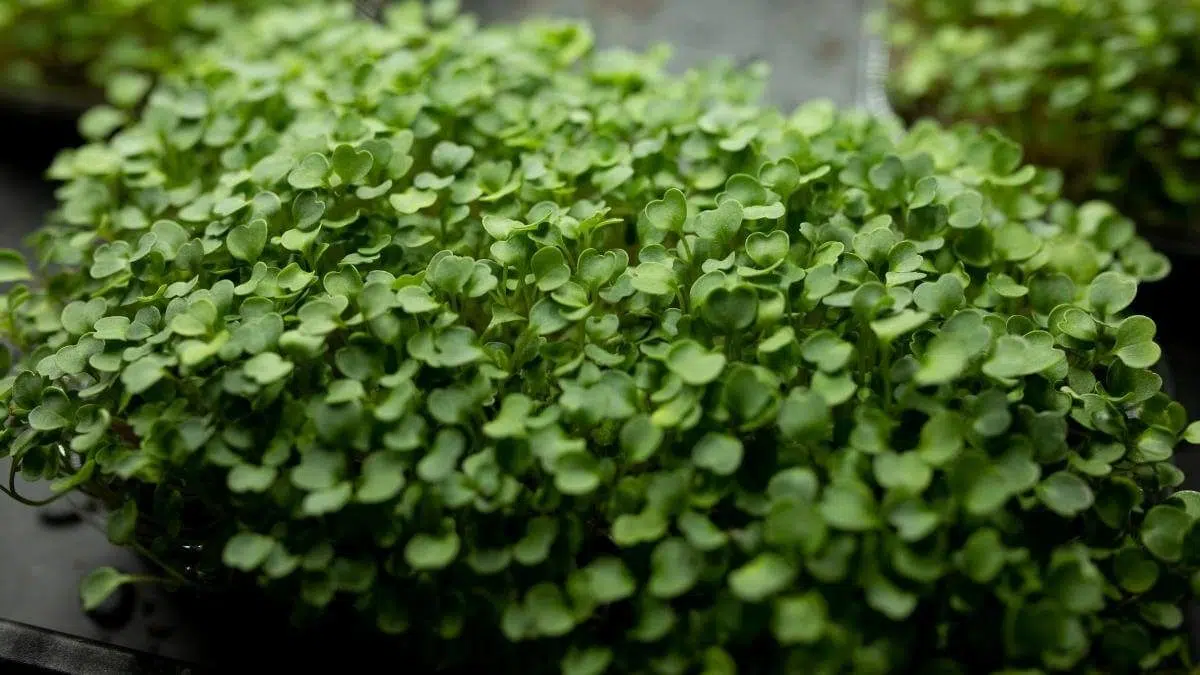
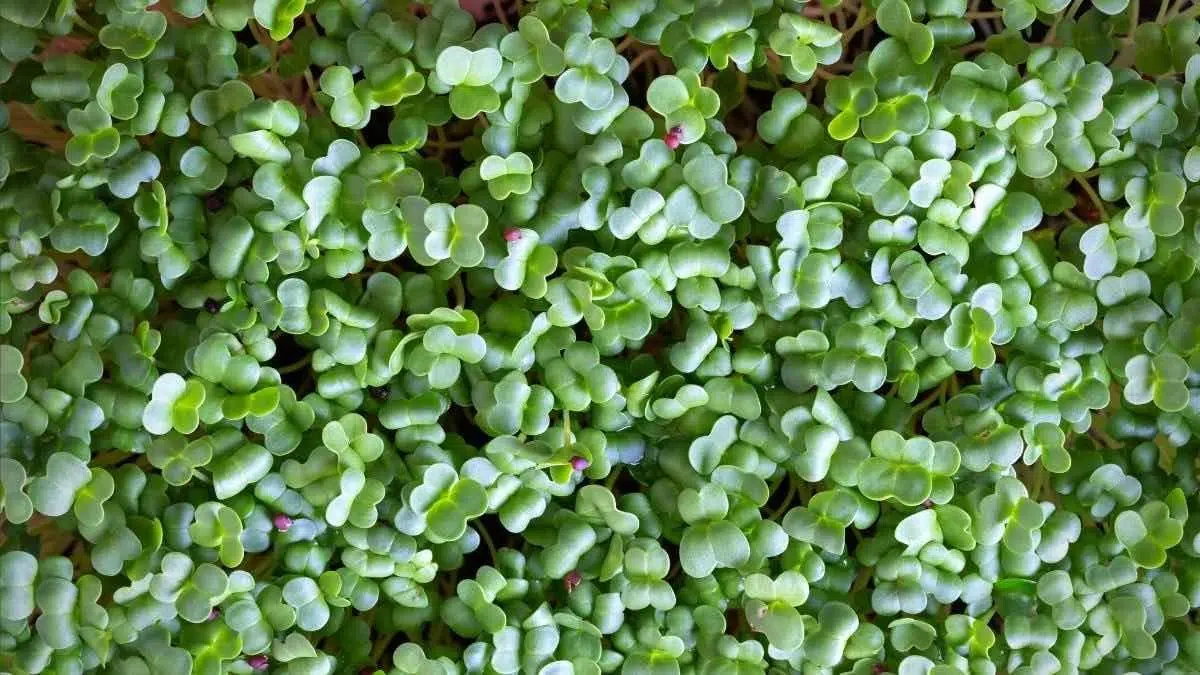
Once they’ve reached about 3-4 inches in height, it’s time to harvest broccoli microgreens! You want to see cotyledon leaves forming, and the start of their first set of true leaves. It looks like the picture below.
You can use scissors, but the cuts are a bit uneven and not really ideal if you’re planning on selling your microgreens. This knife is awesome for harvesting and usually runs you less than $10.
Don’t wash your microgreens after harvest until you are ready to use them. You can store your microgreens in a plastic container or bag in the refrigerator for around 7-10 days. Not washing them will help keep them fresh and lessen your chances of mold growing there.
What Do Broccoli Microgreens Taste Like?
Broccoli microgreens have a milder flavor than the mature vegetable, making them more versatile in recipes and great for eating fresh.
How to Store Broccoli Microgreens
The best way to store broccoli microgreens depends on what you’re using them for. If you’re going to sell them, you want to cut them right beforehand or store them in the refrigerator.
Shelf Life of Microgreens
If you aren’t going to eat broccoli microgreens right away, they can usually last for 4-7 days in the refrigerator.
How to Tell if Microgreens Are Bad
When growing any variety of microgreens, you want to keep in mind that as the seeds start germinating, there will be white hairs which are the start of root.
How Often Do I Need to Water Broccoli Microgreens?
You want to wet your microgreens daily to make sure they don’t dry out. Since the trays we’re using are shallow, they won’t hold much water. Plus, you’re growing a lot of plants at once, so they will use up the water in the bottom tray pretty quickly.
If you let the bottom tray dry out too much, it can lead to root rot and the roots turning brown, which isn’t a good thing.
Do Broccoli Microgreens Regrow
Most microgreens won’t regrow after cutting them. You’re taking the leaves, which are how the plants take in light and use it for photosynthesis.
How to Use Broccoli Microgreens
In my opinion, the best way to use microgreens is to eat them fresh. They are delicious on salads, on sandwiches, in smoothies, or even just raw by themselves.
A single tray of broccoli microgreens can yield up to 4 ounces (113 grams) of greens. The average price of broccoli microgreens is $3–4 per ounce (28 grams).
These microgreens are packed with nutrients, containing up to 40 times more than mature broccoli. Since they’re easy to grow, it’s almost a no-brainer to try it out.